 |
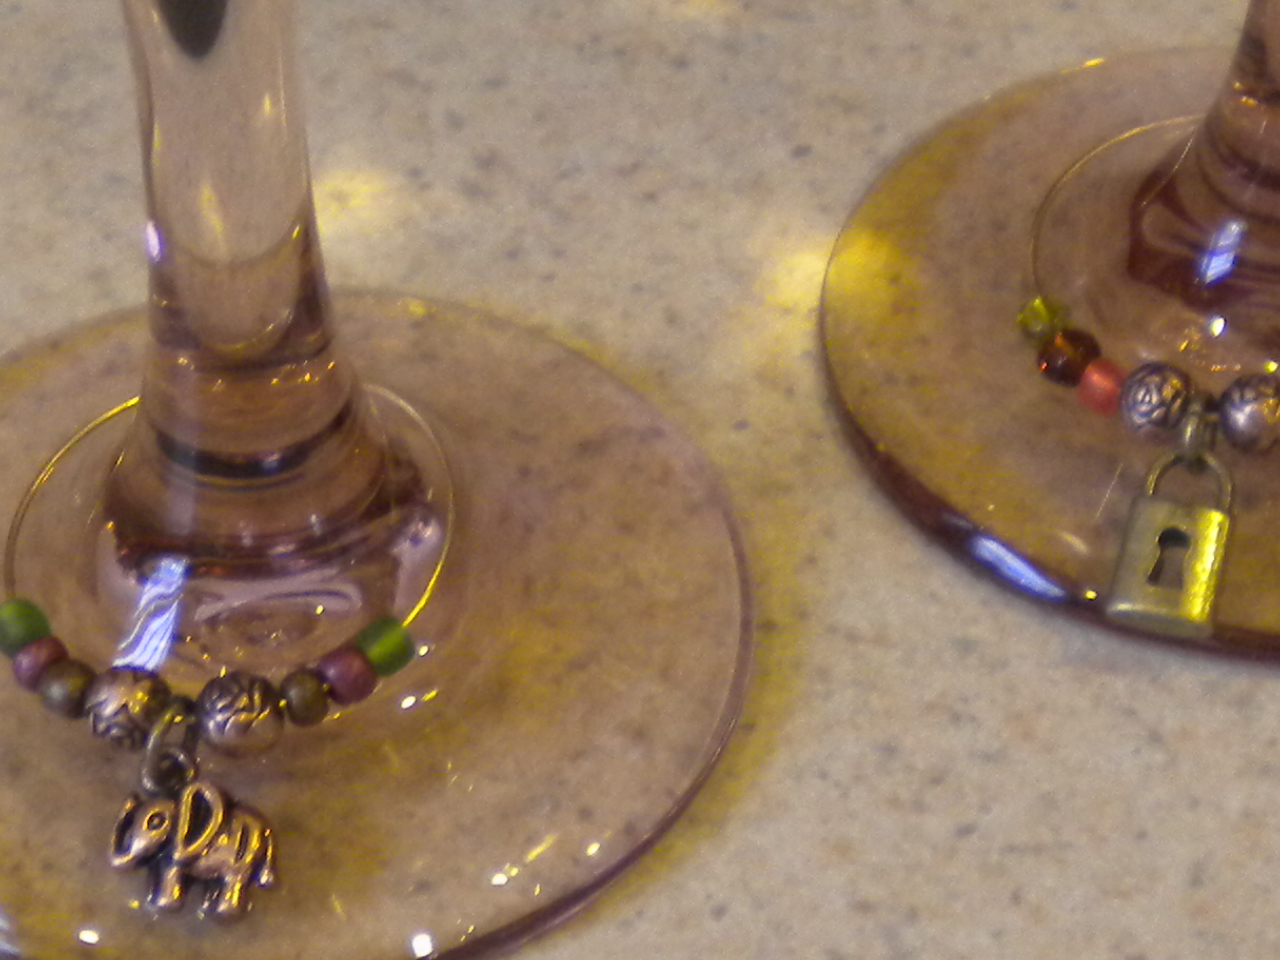
| I made these wine charms for most of my friends and family on my Christmas list. They were fun and inexpensive, both important qualities when you are making a lot of something! You don't need to be a bead expert to assemble the charms, you just need one tool, flat nose pliers (pictured below). |
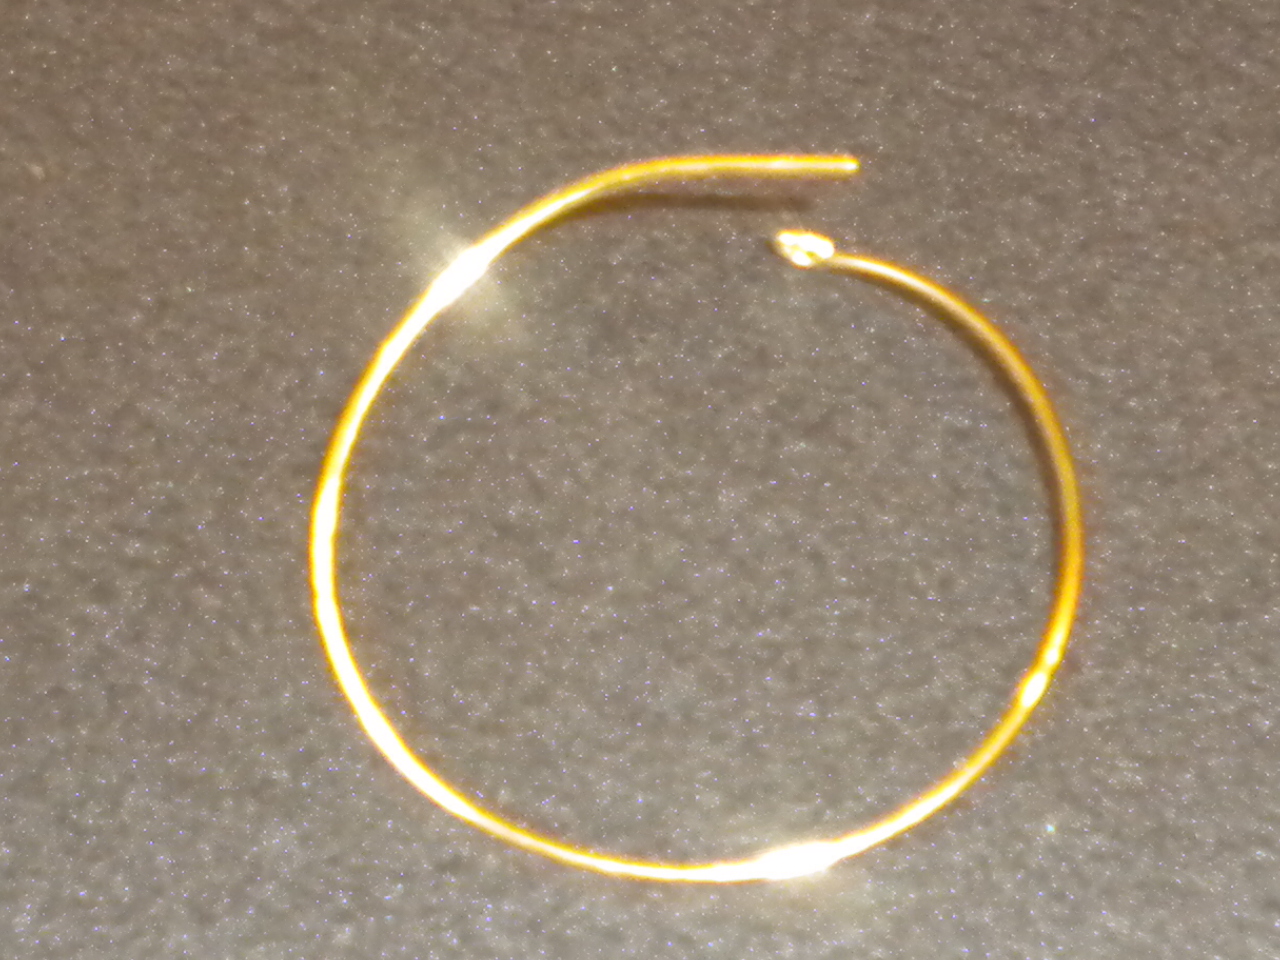 |
| Start with an earring wire like this one. They come in gold, silver, copper, and sometimes you can even find other colors. Make sure the beads and charm are waterproof so you can wash them between uses. Thread your beads and charm onto the wire. Get creative with your charms. You can personalize the charms with monograms, favorite colors, or themes. For example, if you are giving the charms to someone who loves the ocean, use seashell charms. You can find charms in many different themes, if it isn't at your local craft store, check online. Browse the internet for inspiration. You can use paper punches and a jump ring to create disposable charms to match the theme of your party. Add to a paper charm by using rubber stamps to dress it up. |
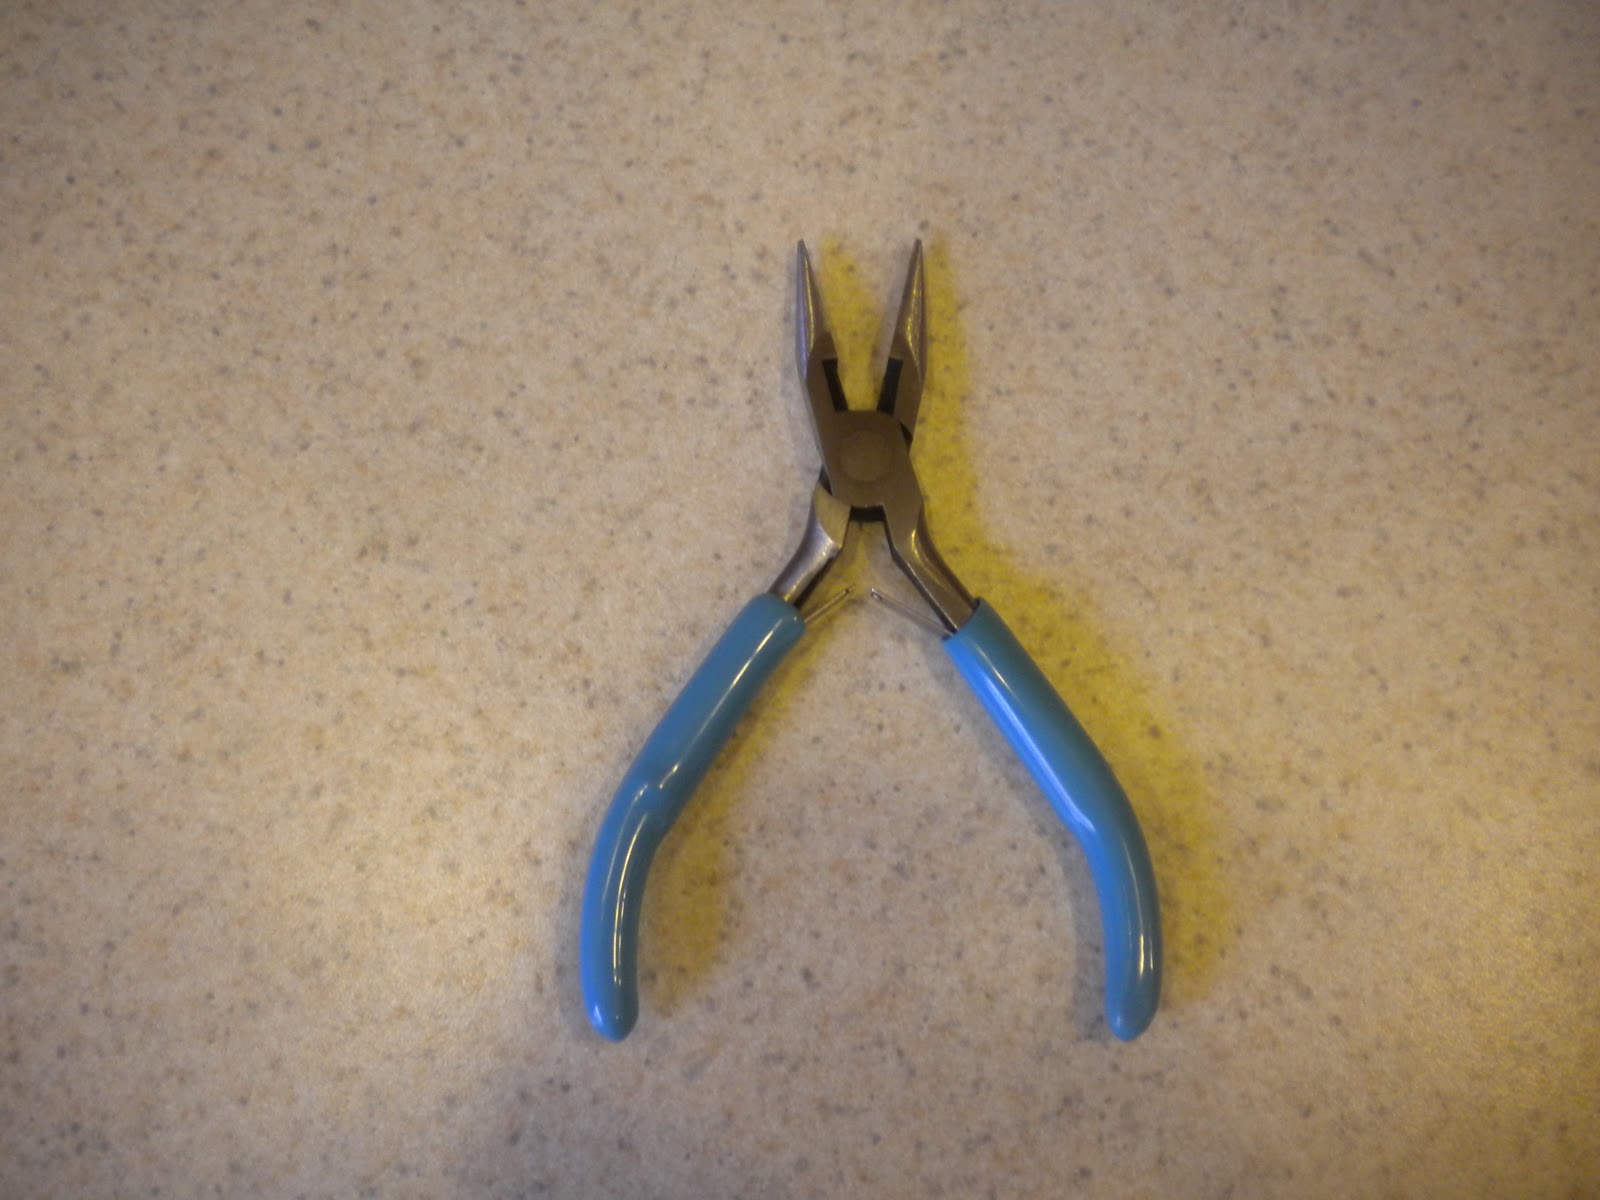 |
| These are the pliers I used. It came in a set in the beading section. I also have another that I |
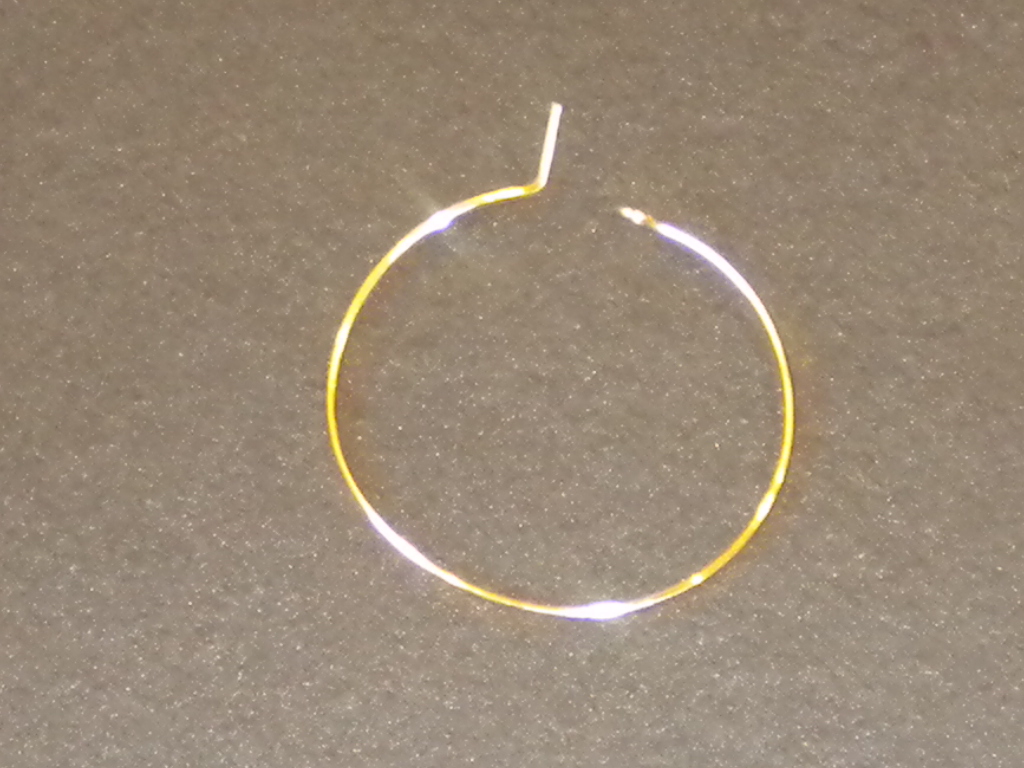 |
| After adding your beads, bend the end of the wire up like this. Make sure to do this AFTER adding the beads, it will be impossible to put the beads on with it bent. You can straighten out the wire if you missed a step, but its hard to make it look smooth again. If the wire doesn't stay in the loop pull it out a little to add some tension. |
 |
| This is my idea for a pretty place to store the charms when not in use. Its a whole different project, and the instructions are soon to come. You can again search the internet for ideas on how to package them. There were lots of cute ideas, including punching holes along the bottom of a card and attaching the charms. Another idea I liked was to use little round tins with windows in the lid. You can get these at the craft store. I found tiny boxes at the Dollar Store, made for small wedding favors, that came in a pack of 12. I use those little boxes for giving earrings away, too. They are the perfect size. |
No comments:
Post a Comment