 |
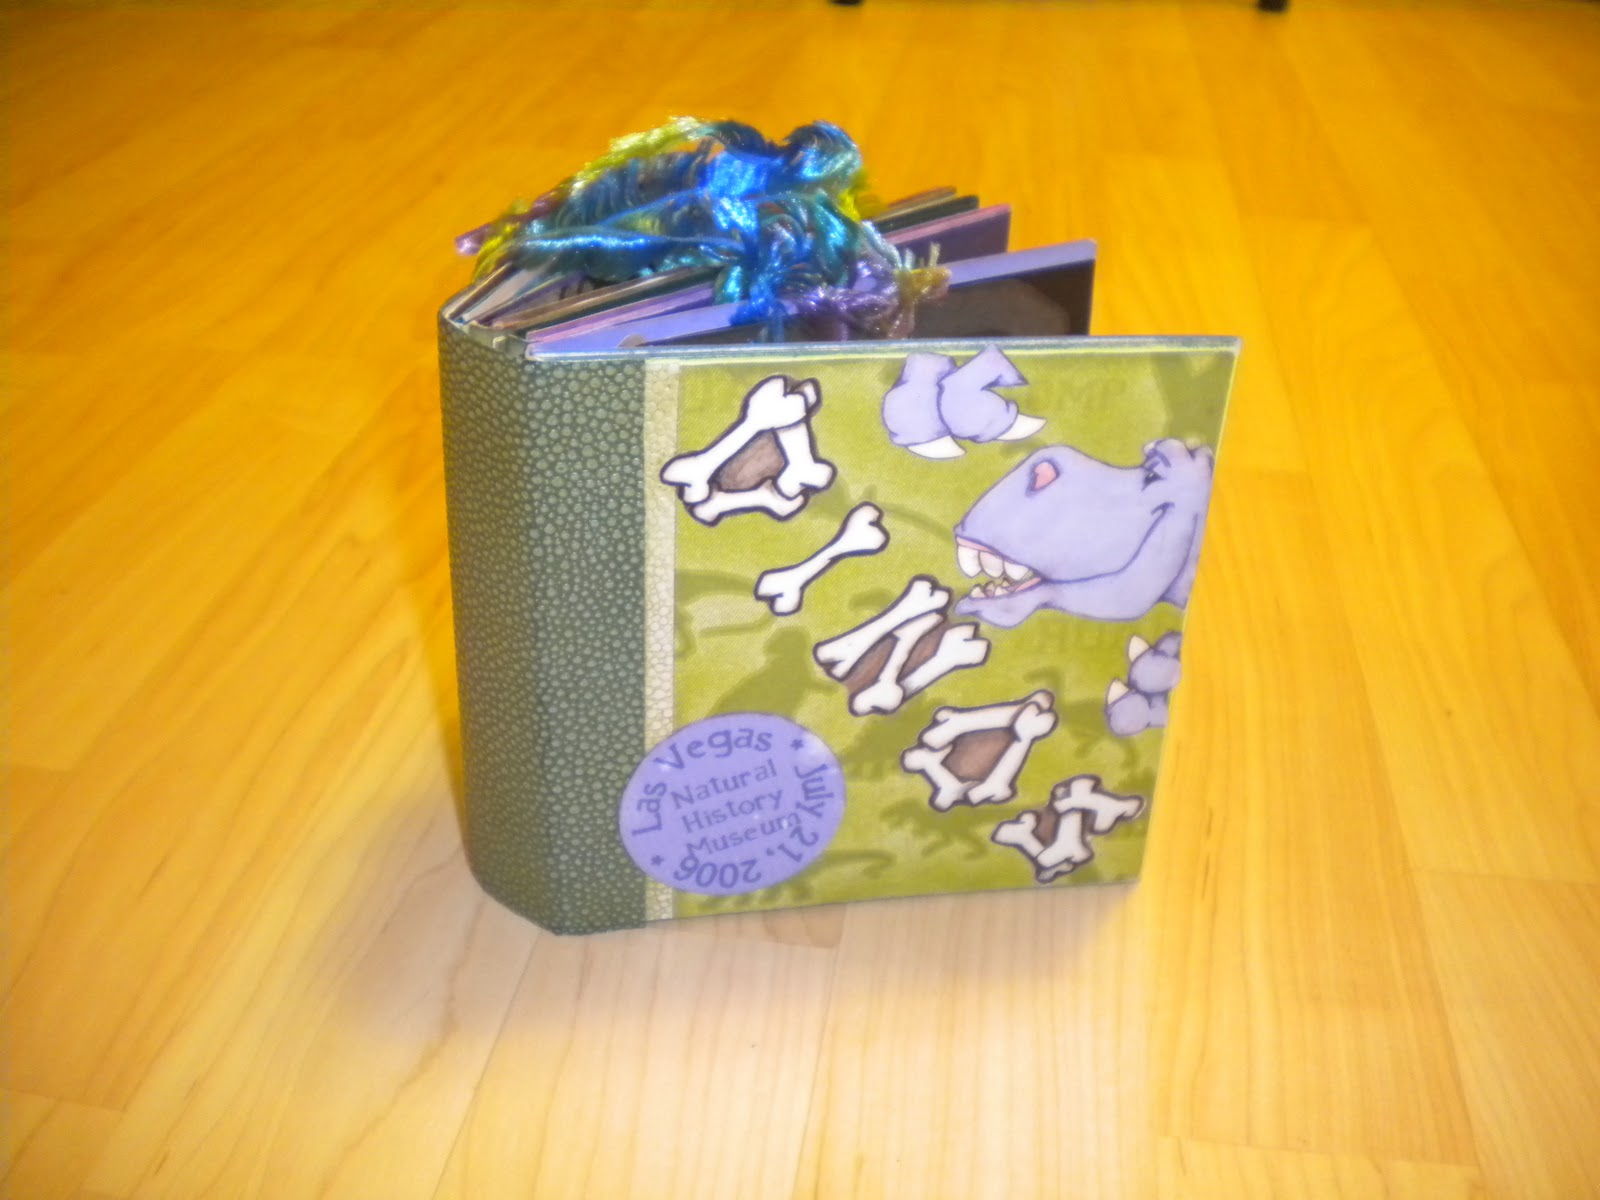
| These albums are really fun to make. They make great gifts, too, and go together much quicker than a traditional album. My mom made this album for my daughters, after we went to the dinosaur museum. You can simply pick a set of paper with matching stickers, tabs, etc. Or, this can be a fun challenge to use up all those cute little scraps you were saving for the perfect project. |
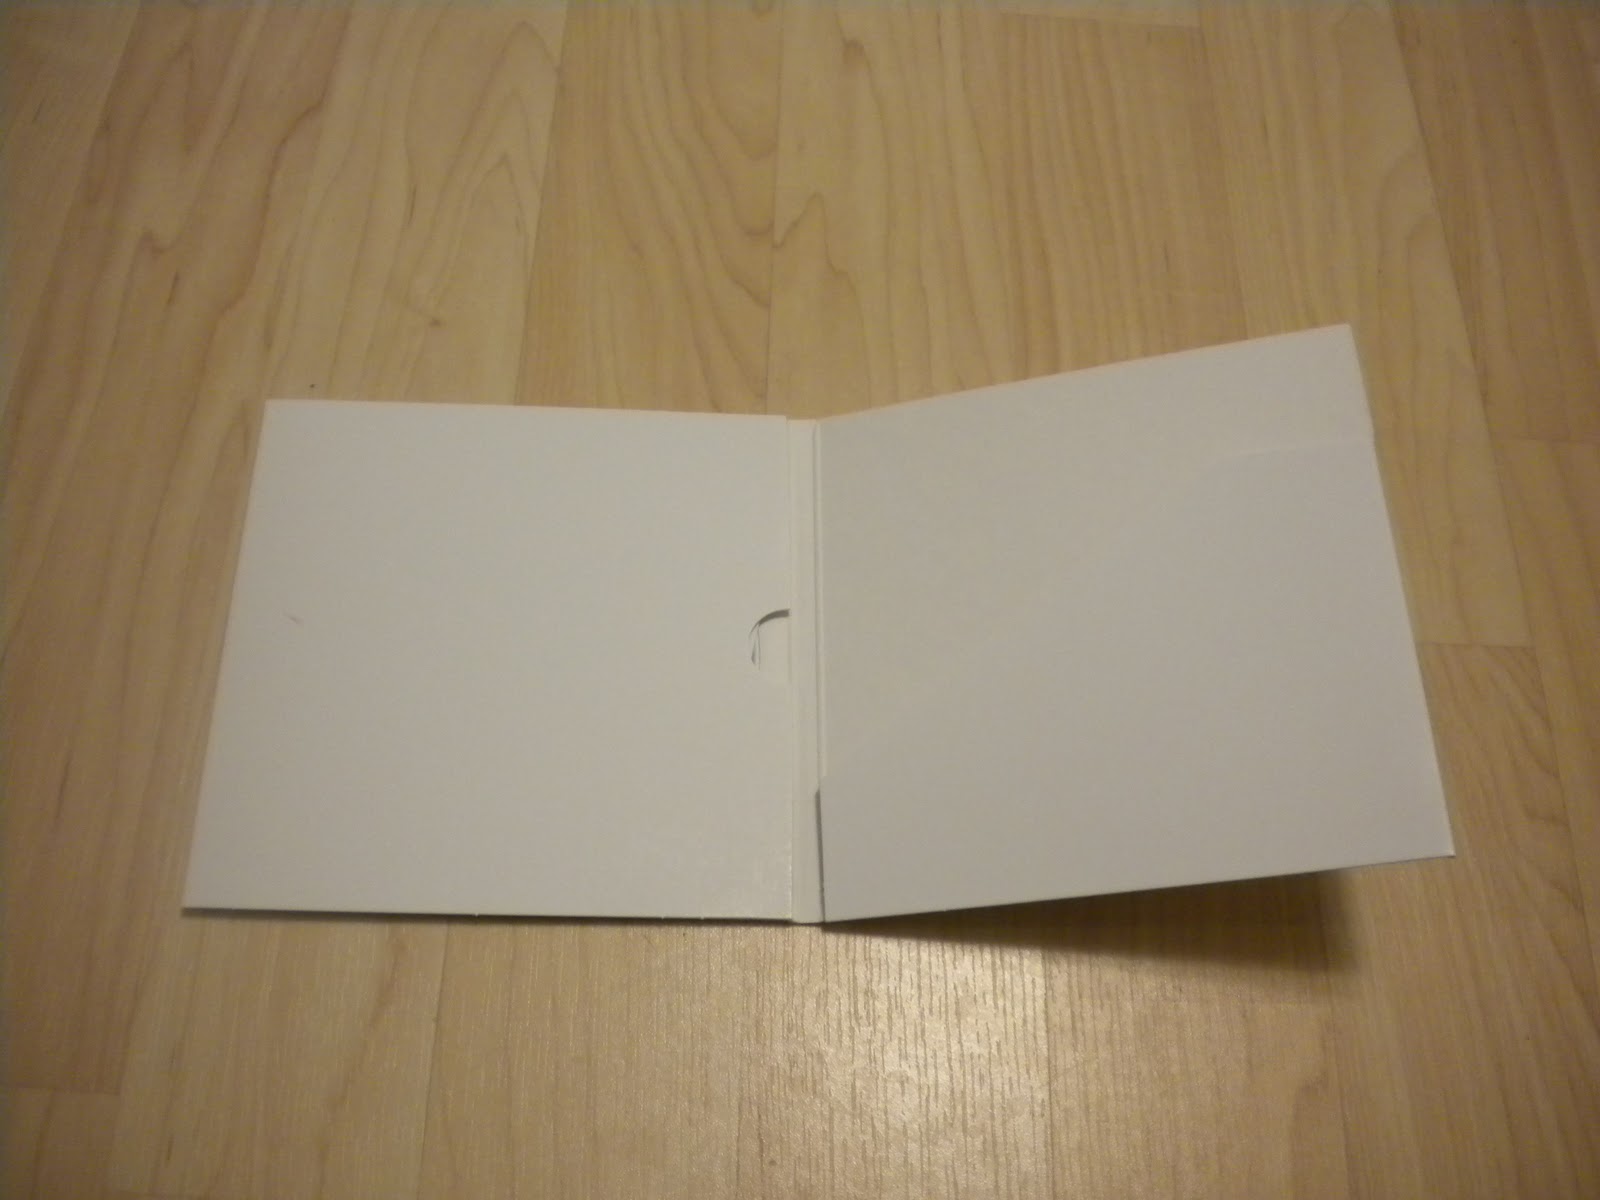 |
| You start with cd folders like this one. They are from ULINE. They are called CD Literature Folders. They come in a case of 125 only. But don't worry, you can split it with friends. Or hang on to them for yourself, you might be suprised how addicting they are! You can make the album whatever size you like. Three to four folders works great, though. Measure the folder, open, and cut out one paper this size for every two folders. Use these to join the folders, glue the paper to the back of one folder and to the front of the next. To make the spine, measure the width, and leave enough to wrap around the edges. If you can find fabric paper, this works the best. It holds its shape, yet bends with the book as it is looked at. Next, you will cut the paper for the pages. There is lots of room for creativity and expanding the size of your book by making flaps (see below). There are two ways to color the edges of the folders. (They will show a little bit after you attach your paper.) You can color them now with sharpies or chalk ink matching the paper you will be using, for a clean look. Or, you can paint them after the paper is added, for a more shabby chic look. |
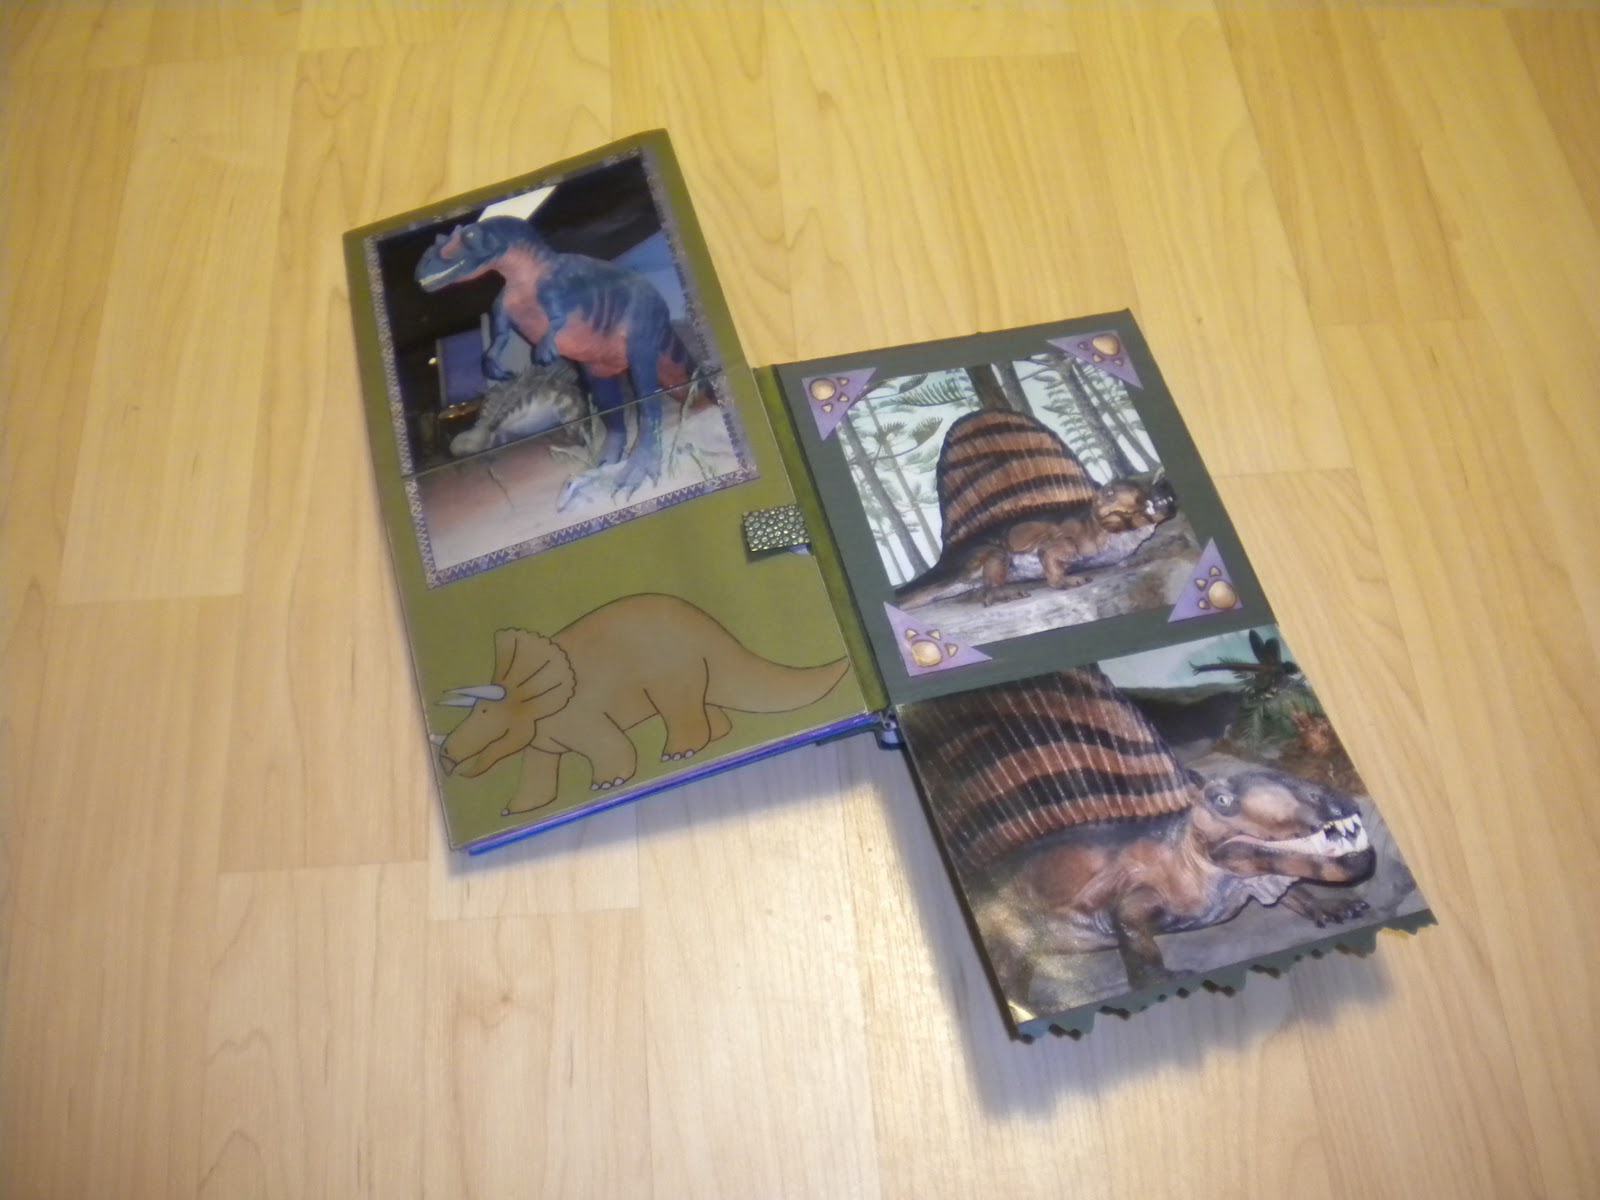 |
| You can see that longer sheets of paper were used here to make flaps. The pockets all have tags in them, too. As you are assembling your book, think about where you might like to add 3-d elements like brads. This is sometimes easier to do before attaching the paper. Be sure to add some funky edges here and there with your punches or scissors! |
 |
| You can see more pages with flaps here, one open and one closed. |
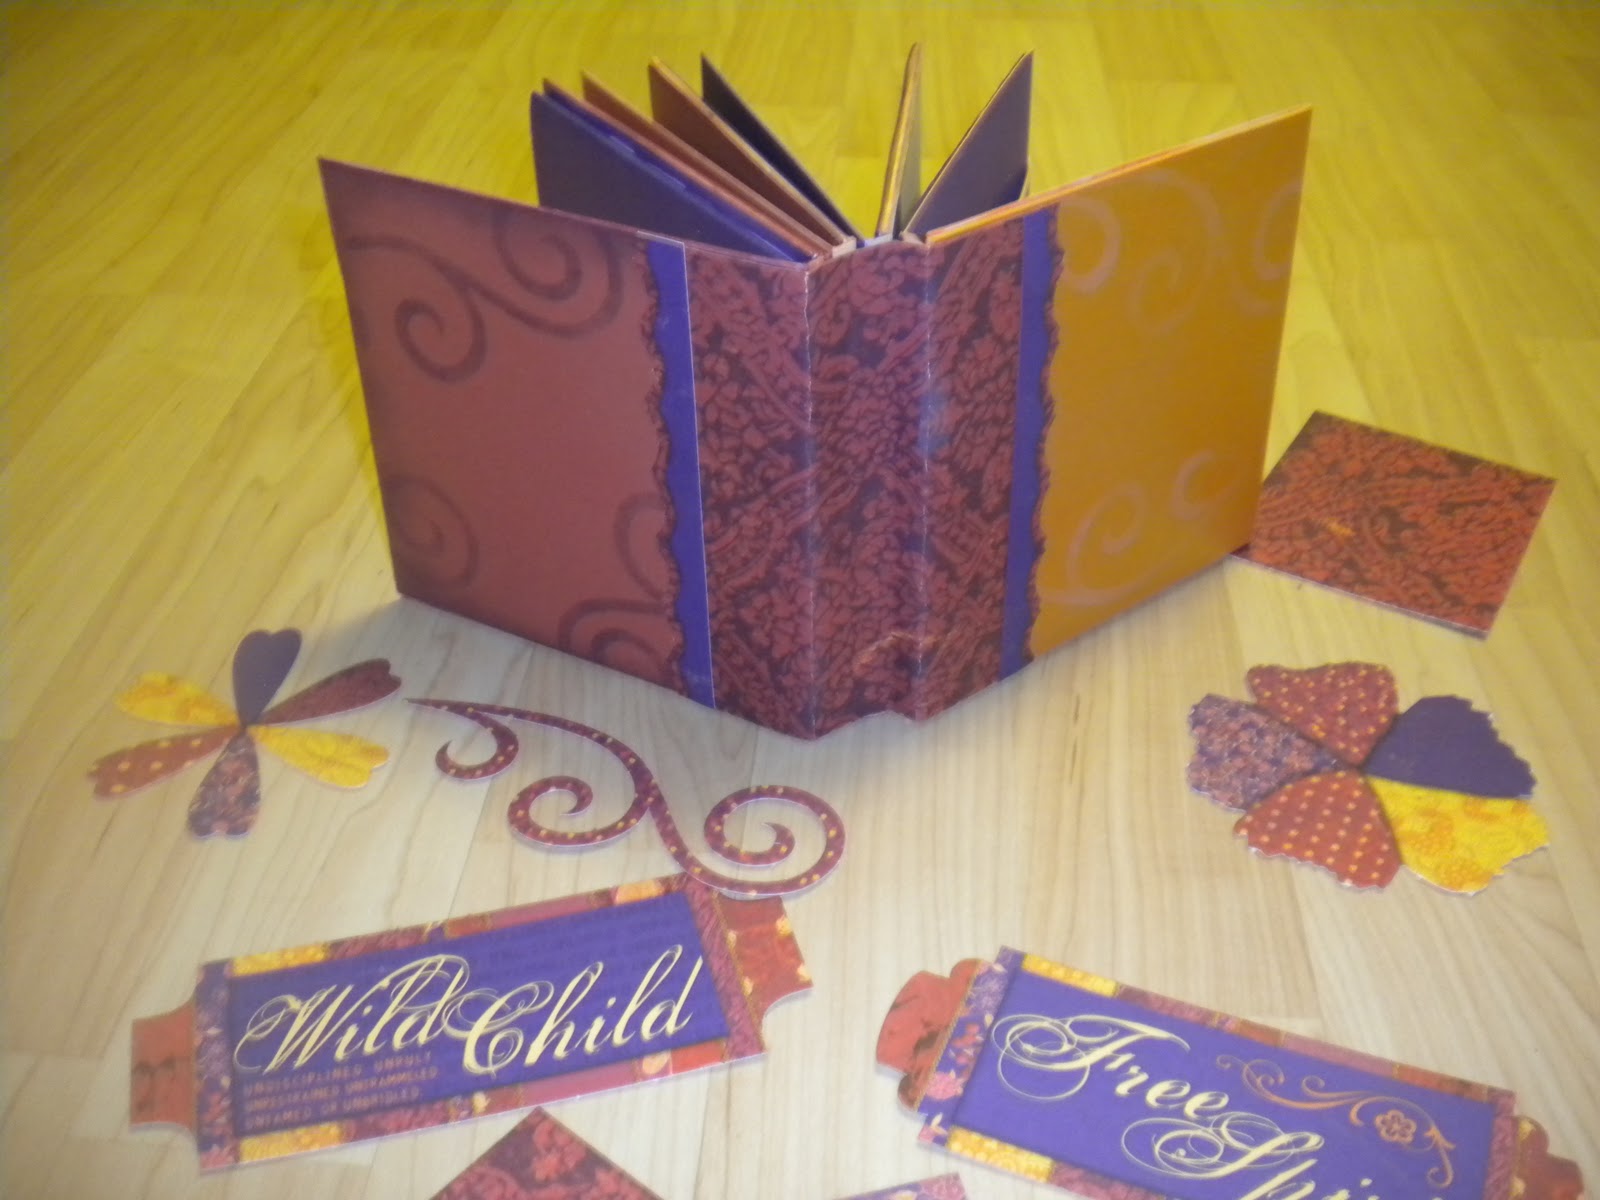 |
| This is the album I am working on right now. It will not be truly finished for a long time, as I am using it for a journal. I am filling it with my thoughts on spirituality and religion. Whenever I have a thought, quote, or even a picture, I will tuck it somewhere in the book. You could also use them one at a time to make a special birthday card. Maybe a love song mix cd for Valentine's day would be fun, a homemade cd in a handmade case. Have fun! |
No comments:
Post a Comment