"What's in a name? That which we call a rose

By any other name would smell as sweet."


That which we call art, by any other name would be as wonderful. What is true 'art'? Have I earned the title of artist? Or am I a poser? Whenever someone asks me what I 'do', my instant answer is artist. But when I think of what an artist is, I picture someone living in a funky loft apartment with exposed brick, paint all over their clothes. Going for coffee at the cafe down the street every morning. Thats not me. I'm a mom with a messy house. My coffee is folgers instant coffee. But I am an artist, no less. I feel that anything one creates with their own hands is art. Painting, drawing, crafts, and cooking. Creating a garden is a living work of art, always changing. Welcome to my imagination. I will share with you my version of art, using every medium available.

Tuesday, January 25, 2011

My Craft Room Before

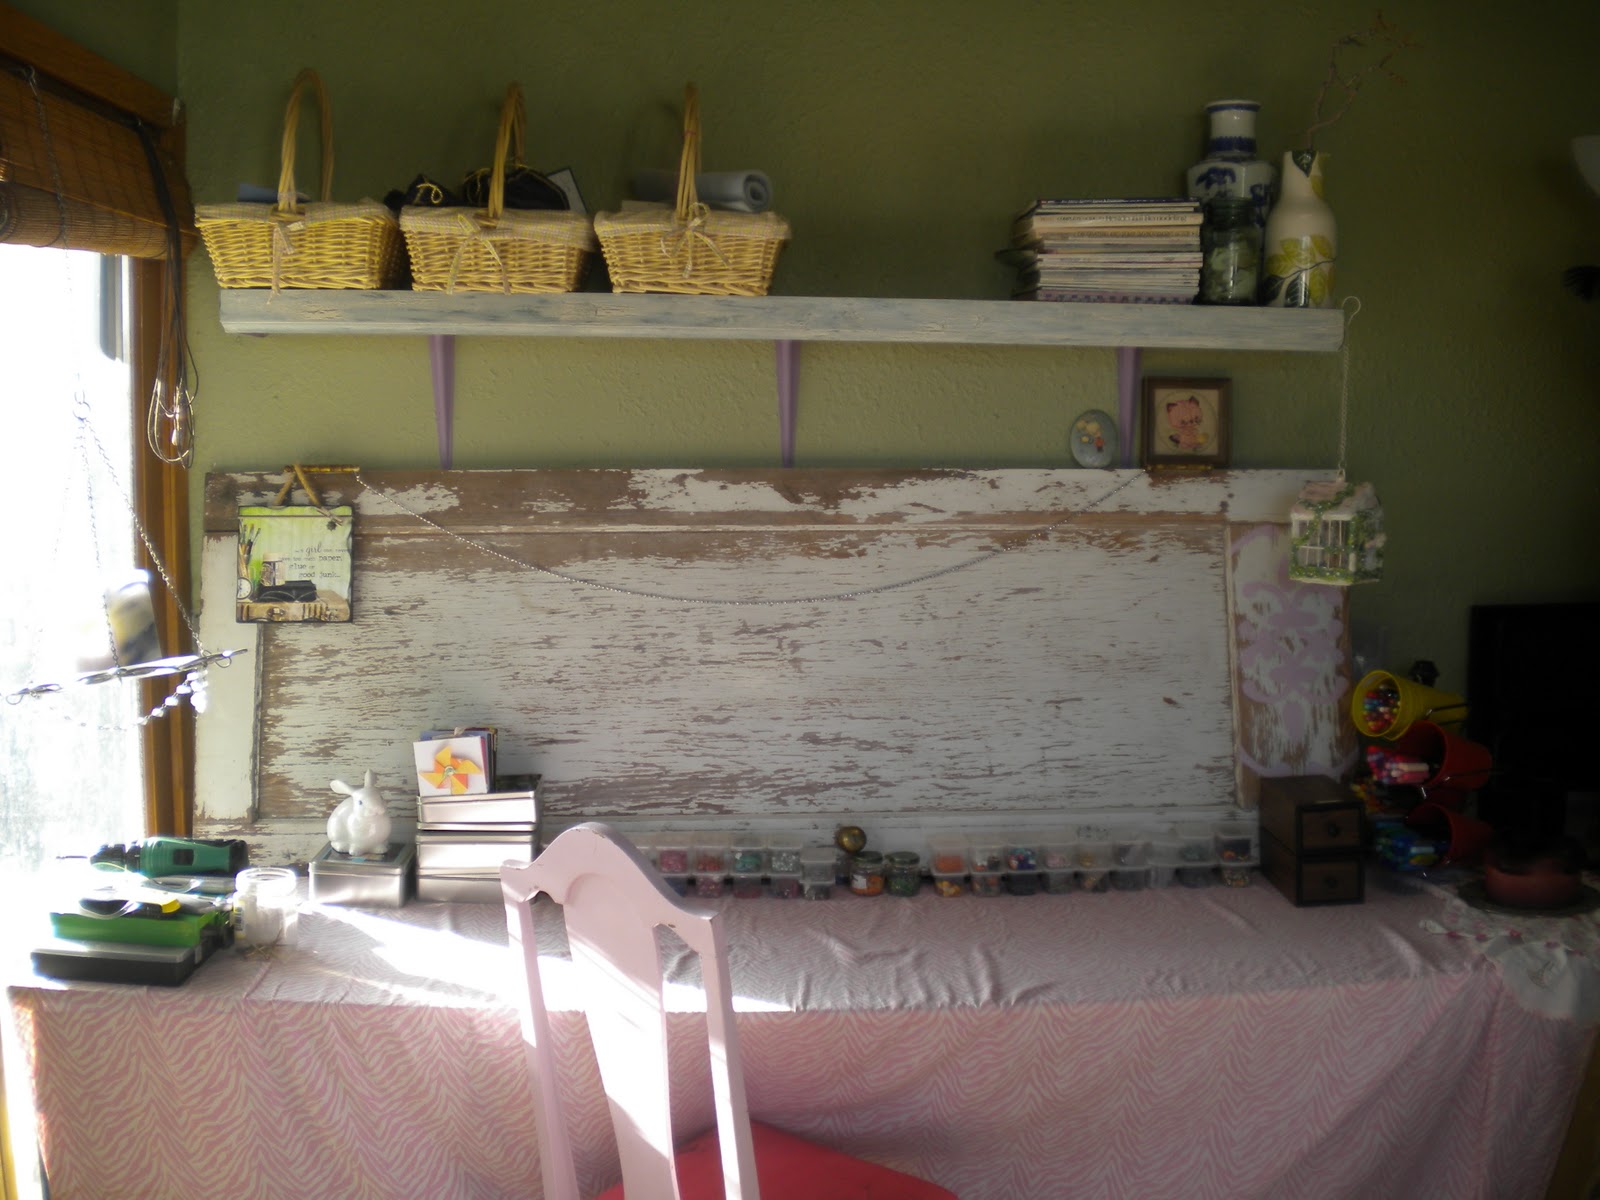
This is the -before- picture of my craft room. I am not changing it because I dislike it, but because the roof sprung a leak from our tornado. It was only dripping, but now that it snowed, its more like a waterfall! The chair was $3 at a yard sale, and I painted and reupholstered it. The door across the back is an original door from my house, which was built in 1937. I loved it too much to throw it away when we remodeled. It is skinnier than a modern door, and the door knob is so tiny and cute. I leaned it against the garage outside for a while, and for once,being a procrastinator payed off this time! Perfectly shabby chic, with no effort at all. (Besides convincing my hubby not to throw it out!)

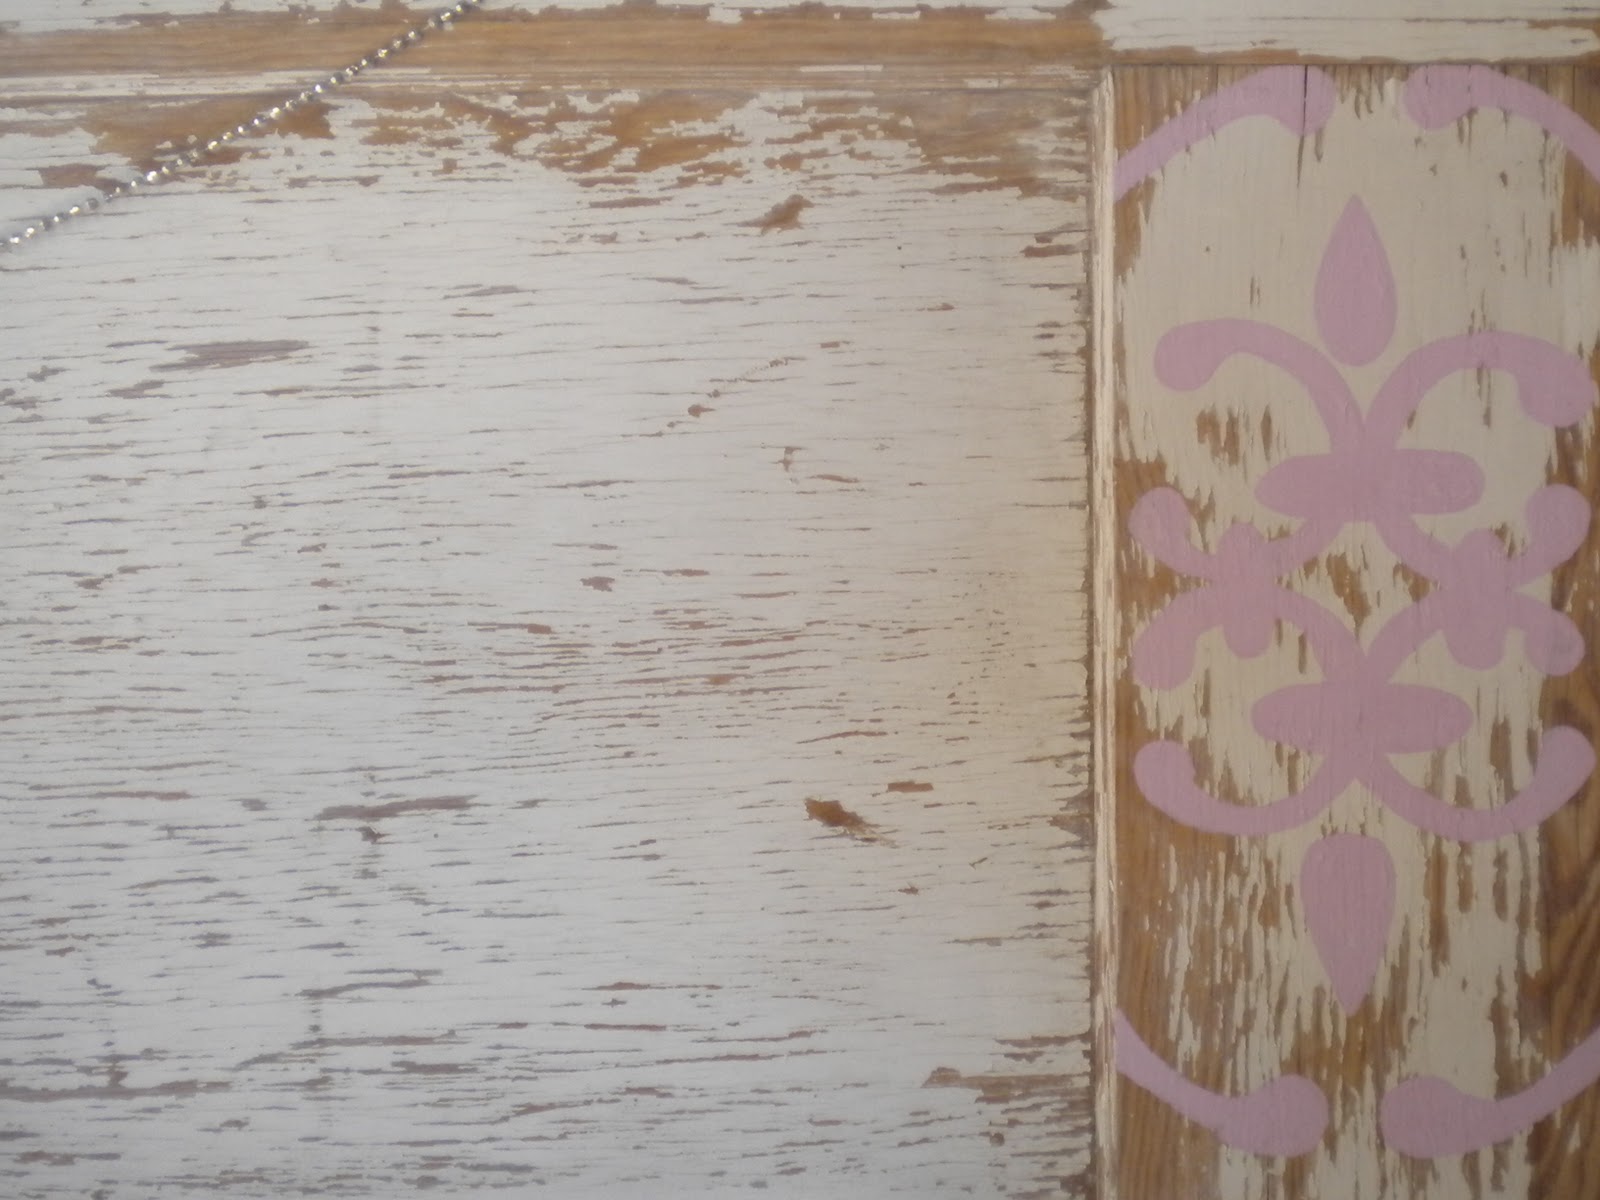
I lightly sanded it to get the loose paint chips off. Then I spray painted the whole thing with a clear coat to seal it in. The design I painted is similar to the paper I chose to accent the room with. I used a paper plate and a lid to a cup to get the circles. I free handed the rest. 

I keep my beads in baby food containers, they stack nicely and its easy to see whats there. I'm always more creative when everything is spread out in front of me.

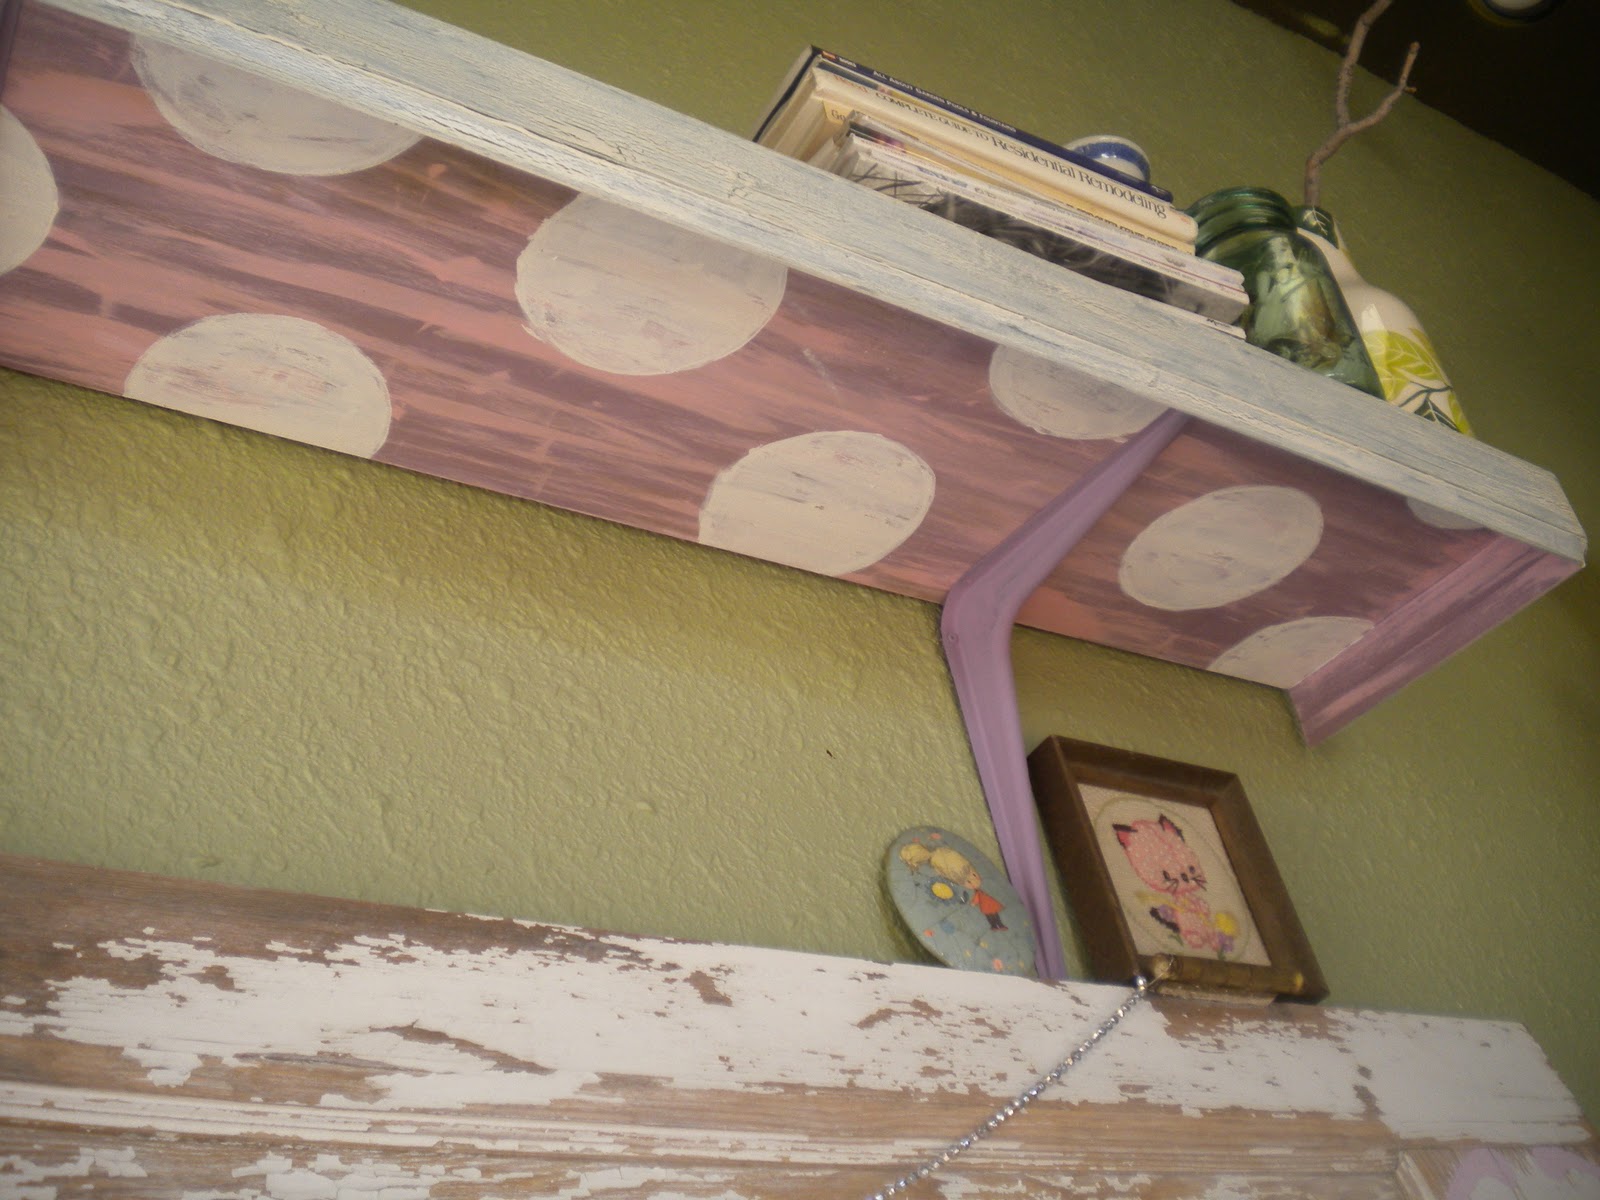
This shelf was recycled from the old fireplace mantle. I painted it with acrylic paint, then a crackle coat, and then more paint. Its the first crackle project I've done, and it won't be the last!  I loved the anticipation of not knowing exactly what it would look like, and peeking at the crackling in progress.

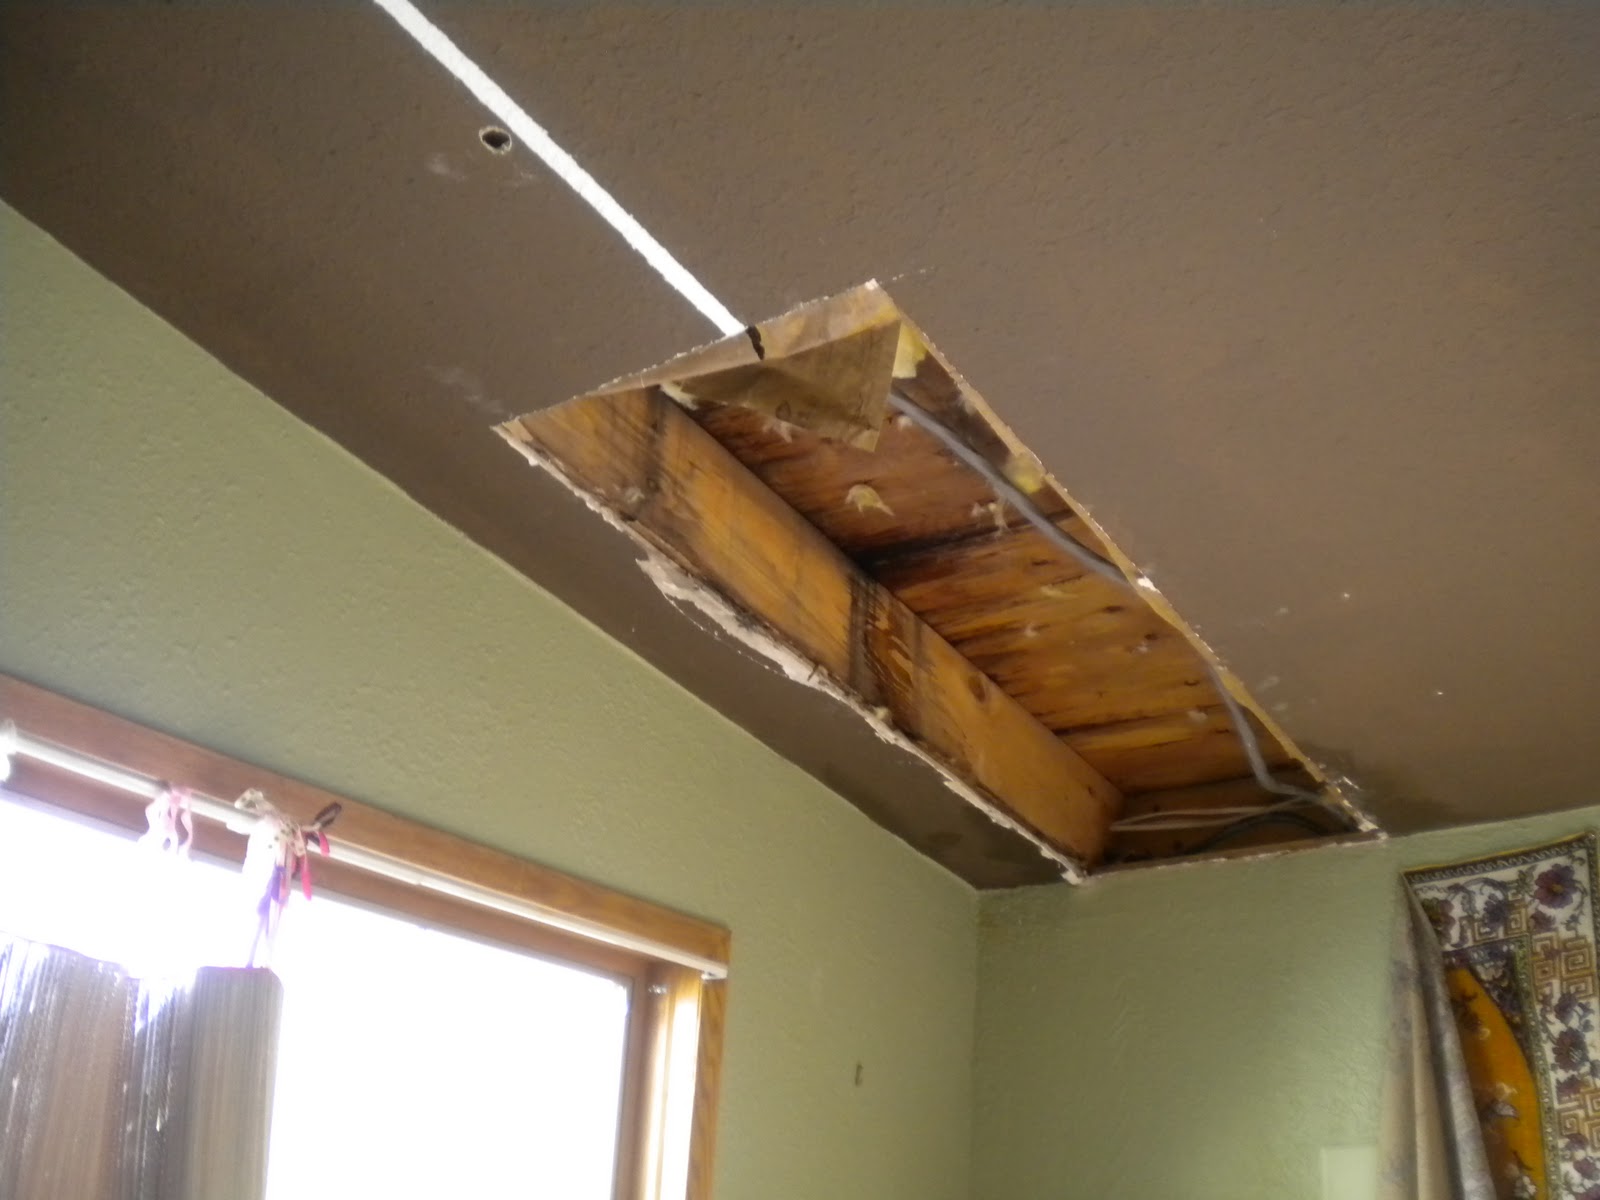
Here is the sad part. Just one of the many leaky spots now in the ceiling. But, it is soon to be fixed, if the weather stays mild. So there will be a Craft Room -After- coming (hopefully) soon!

Thursday, January 20, 2011

Condolance Card

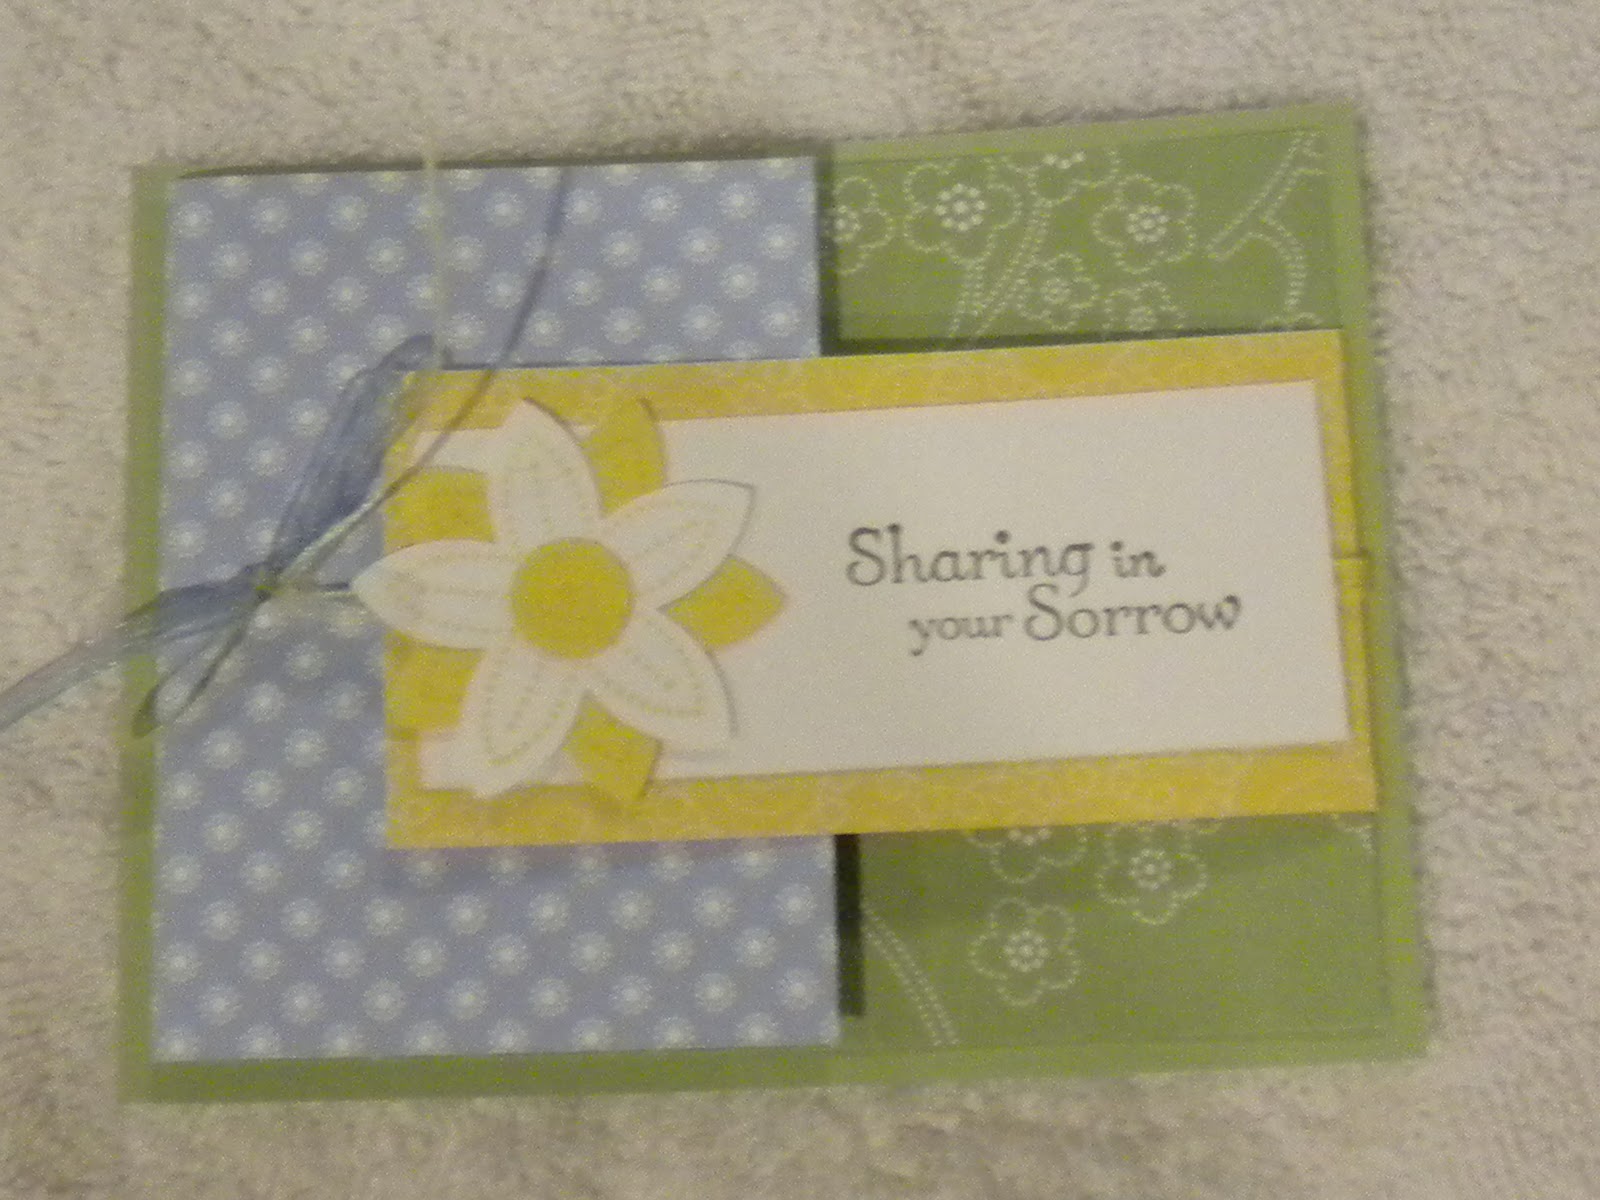
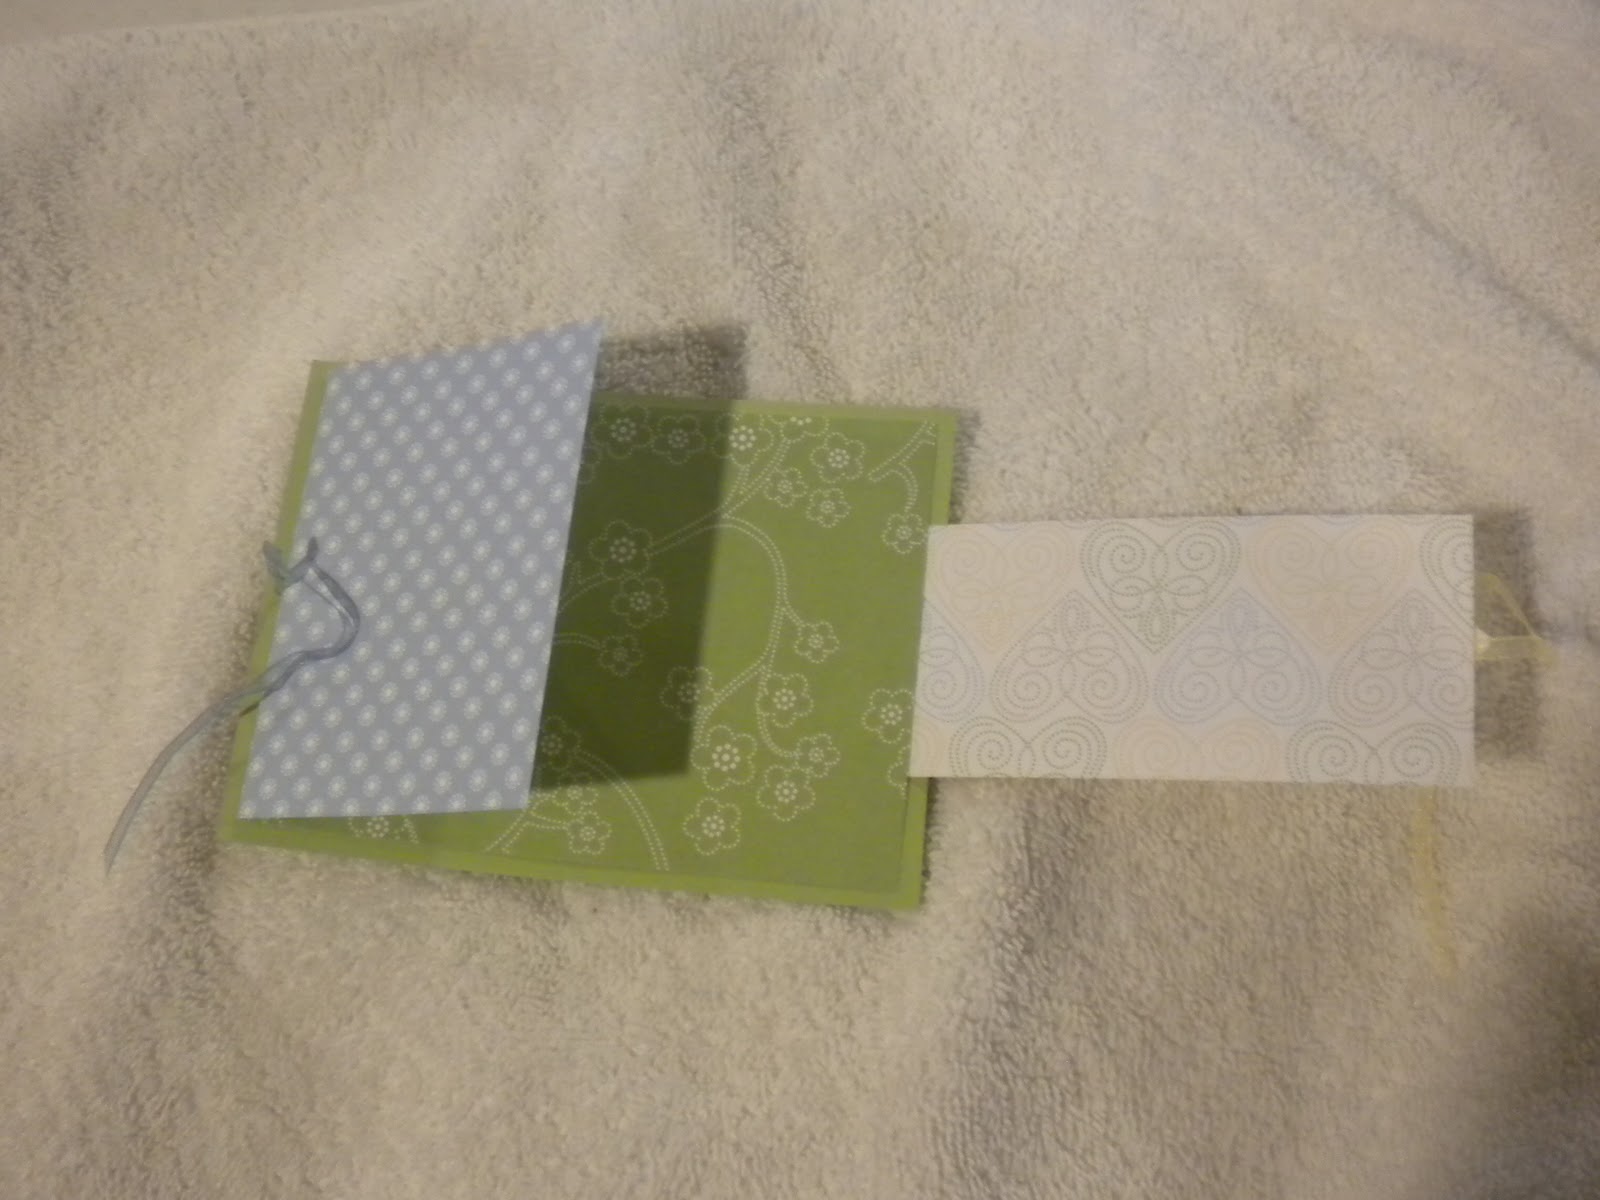
This card design can be an impressive and quick card if you use coordinating paper. You could also dig out the scraps and really get creative, depends on your time frame. This card is made from Stampin' Up paper.
 1- Start with you standard card size, 4 1/4 x 5 1/2 (green). This is just a sheet of card stock, not folded.
 2-Then cut a piece (green w/ flowers) that is 4 x 5 1/4.
 3-Next, cut one that is 4 x 3 3/4 ( blue w/ flowers). This size gives you room for a 1 inch flap, score and fold at 2 3/4.
4-The yellow strip is 4 3/4, score and fold on the 4 inch mark, giving you a 3/4 inch flap.
5- Now, cut the last piece that is 3 3/4 x 1 3/4, to stamp your sentiment on. I suggest stamping your sentiment on before assembling card.
6-Cut 2 lengths of ribbon to create the bow. You can use 2 different colors, as in the sample, or stick with 1 for a monochromatic look.
 While you are gluing the card together, remember to put the ribbon in place. So start by attaching the blue flap (3) to the green flower paper (2) on one side, and the yellow flap (4) on the other side. Then place one ribbon between the blue flower (3) and green card stock (1), and the other ribbon between the yellow (4) and green (1). Glue into place. Glue white paper (5) to yellow (4), running ribbon between them. Attach a 3-d element, like the flower in the sample.      

Monday, January 17, 2011

Valentine's Paper Crafts

I made this with a sheet of scrapbook paper and a few quotes I found and printed off the Internet. I tore the paper up,  and modge podged it,  along with the quotes, to a small paint can. The can is to put love notes in. Unfortunately, I haven't filled my can up yet, but its still fun to make.
The small tin is an Altoid tin, and I used modge podge on this, too. I used some acrylic paint and a border sticker to decorate the edges of the tin. I used a corner punch to round the corners of my business cards, and store them in here.

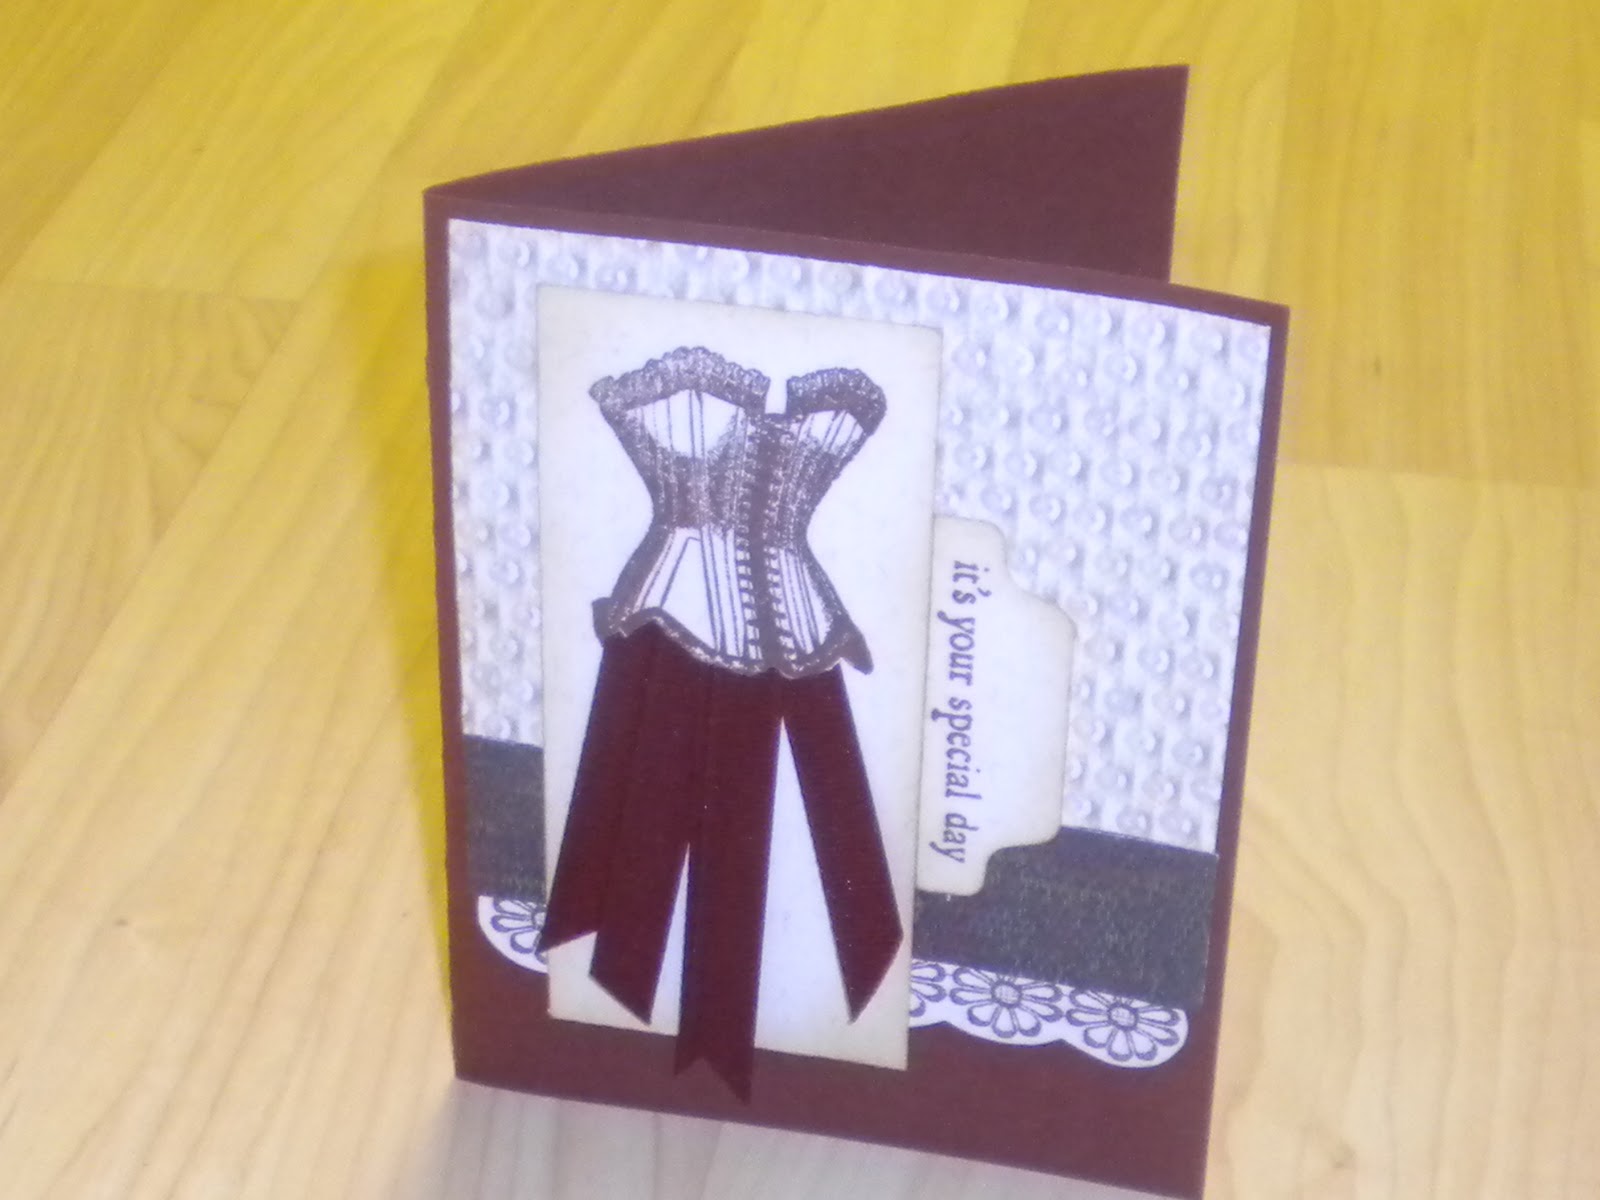
This card has a fun 3-d element, and its a great way to use scraps of ribbon. I made one with all different colors of bright ribbons on a black background, too. Corsets seem very romantic to me, but I bet they didn't seem that way if you had to wear them every day!  

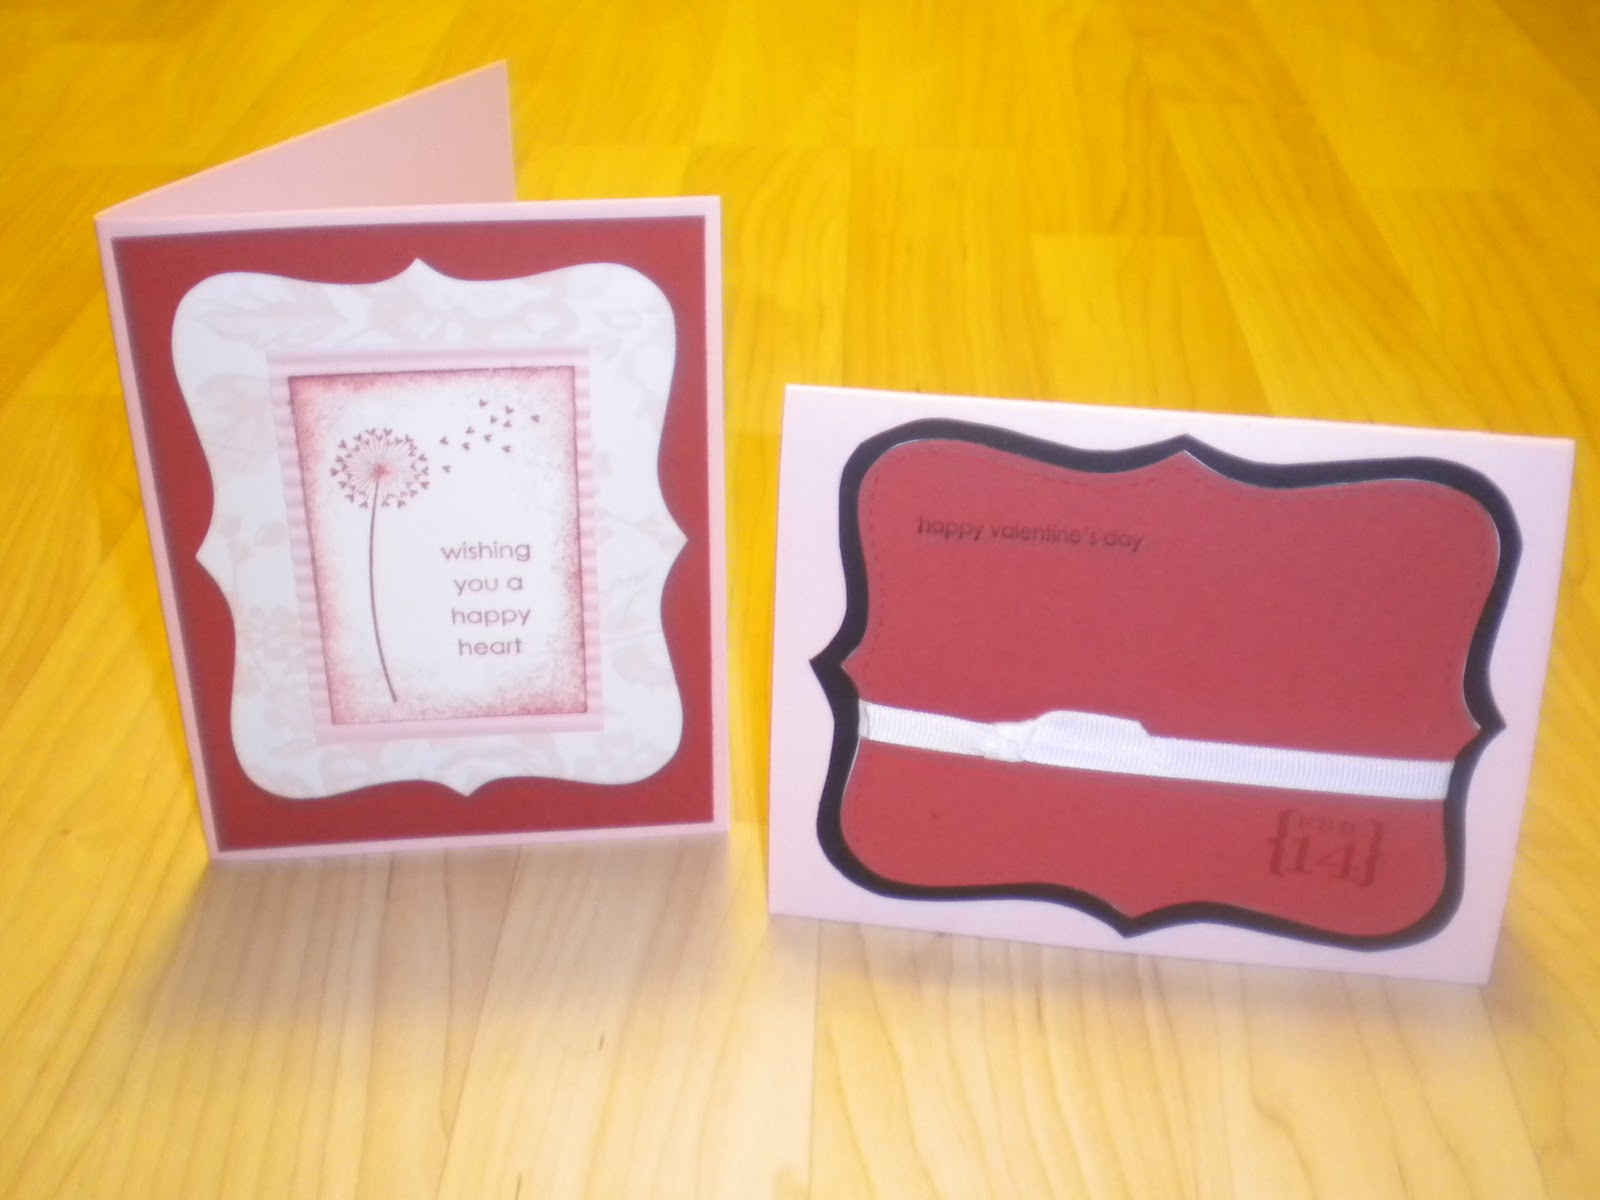
I made these at a make-n-take at my mom's house. The die cut is a Stampin Up die called Top Note. I got the black layer by cutting carefully around the scrap from a black die cut.  


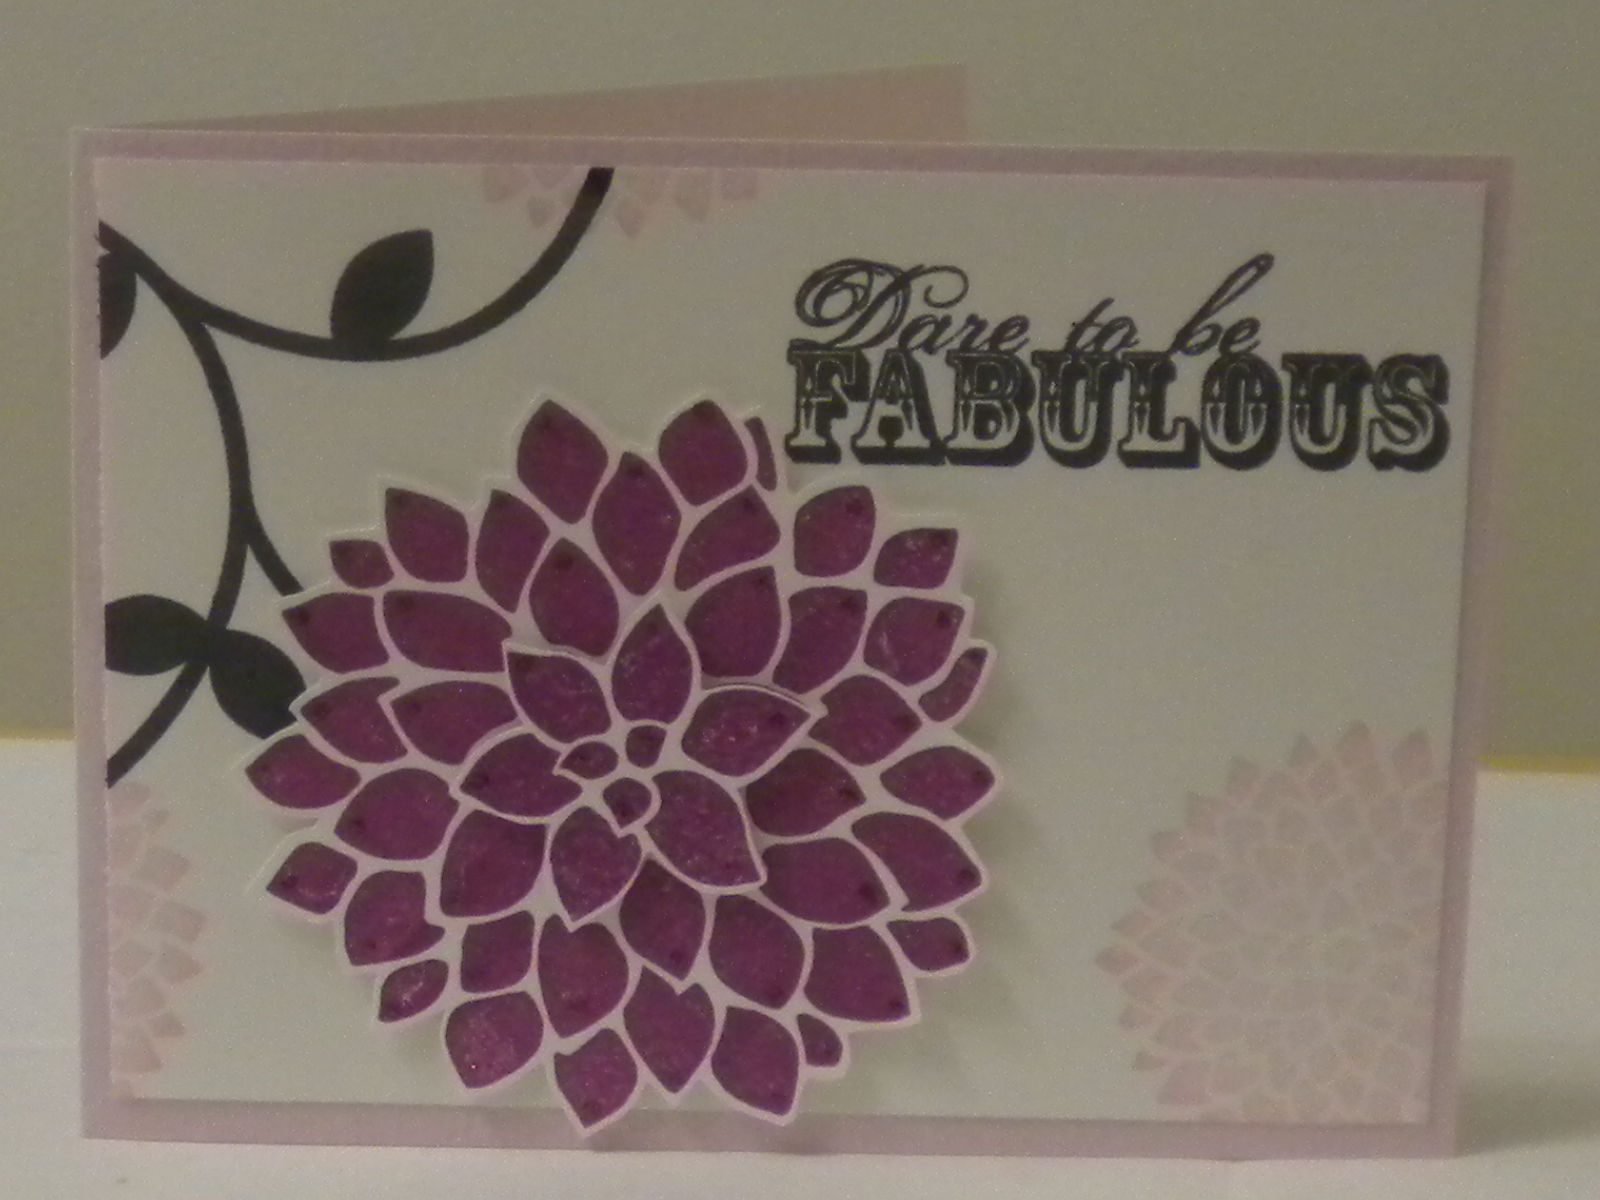
This is a quick and easy card, great for a girlfriend's V-day card.  I love this set, Fabulous Flowers, a retired Stampin Up set. You can use any big flower stamp with more than one row of petals. Make the flower pop! Stamp it a few times, and cut out layers. Layer them, glue them directly to each other, or for more depth, layer them with adhesive foam tape. I added some sparkle by putting a dot of stickles (glitter glue) on the tip of each petal. You can add even more to it by curling the edges of the petals slightly.

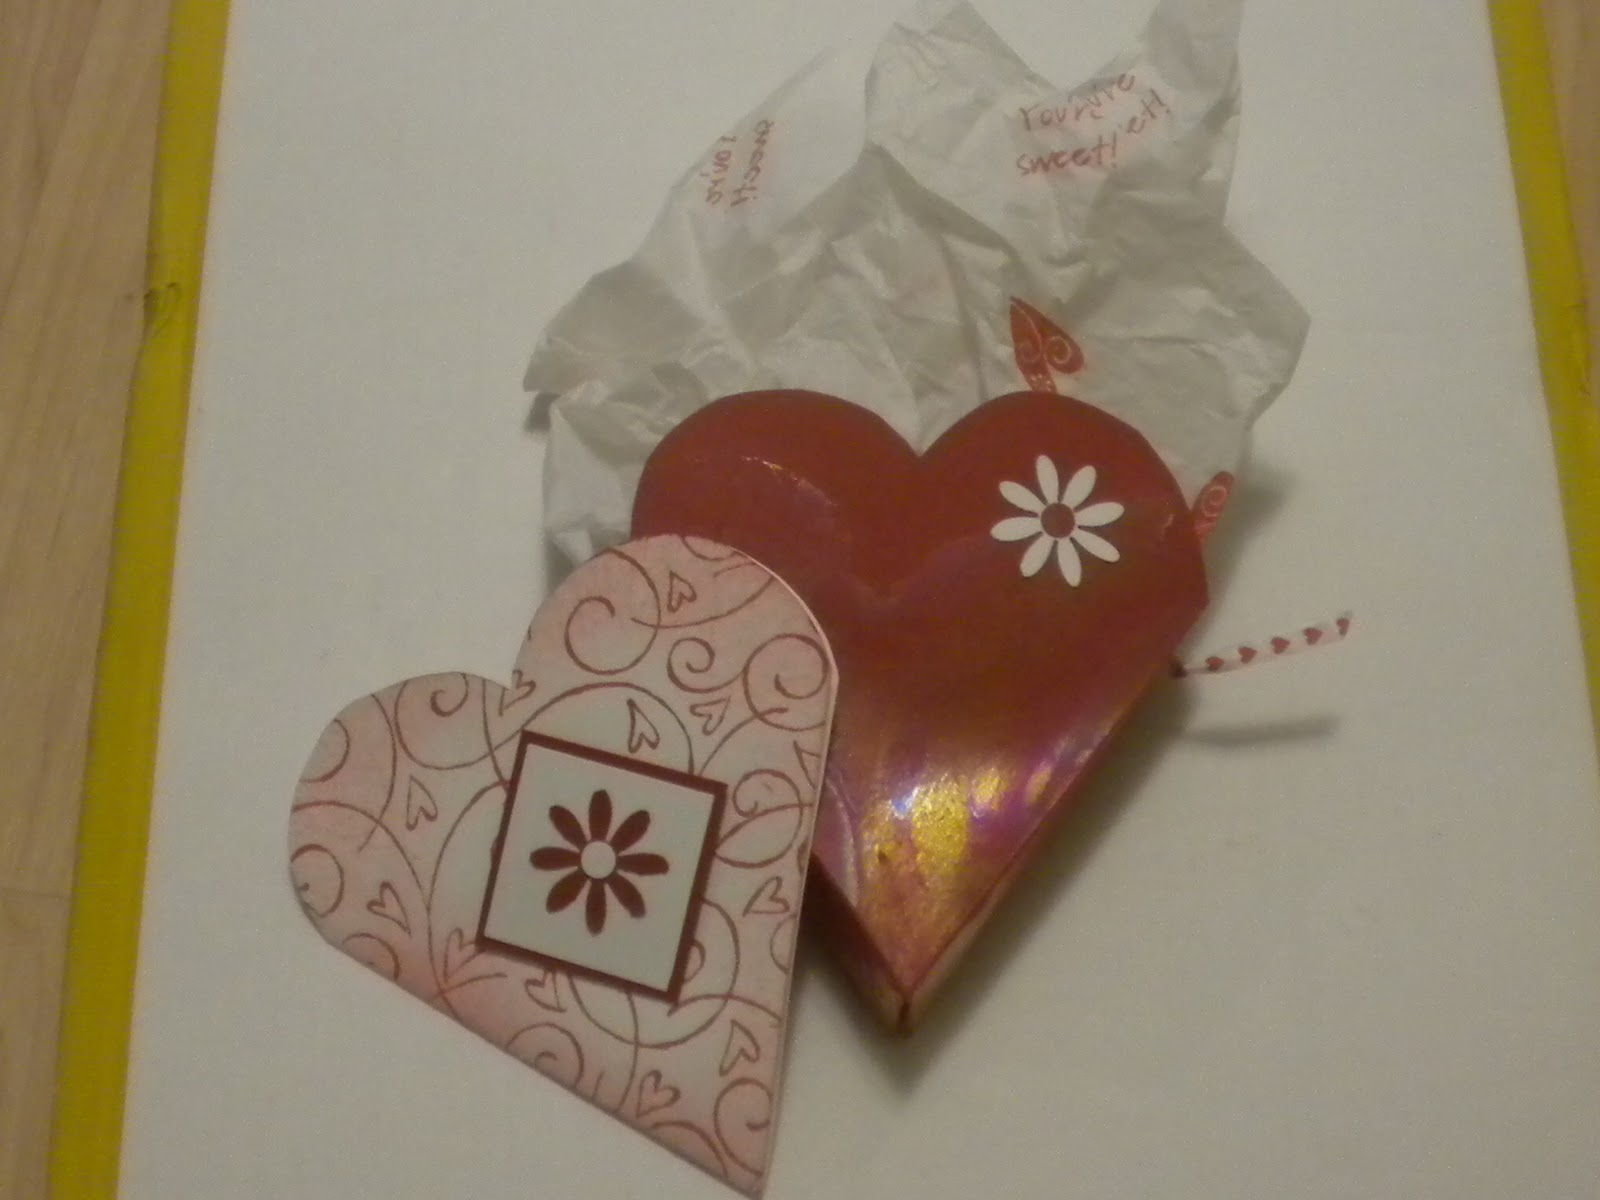
I didn't make this one, but its cute so I  had to share. I don't have a pattern, but you can just add a tab to the side of the hearts. Fold in the tabs, and glue them together to form an open topped narrow box. For an added touch, you can make a little card that fits right into the box. Stamp some tissue paper with a coordinating stamp, add a ribbon handle and some treats.

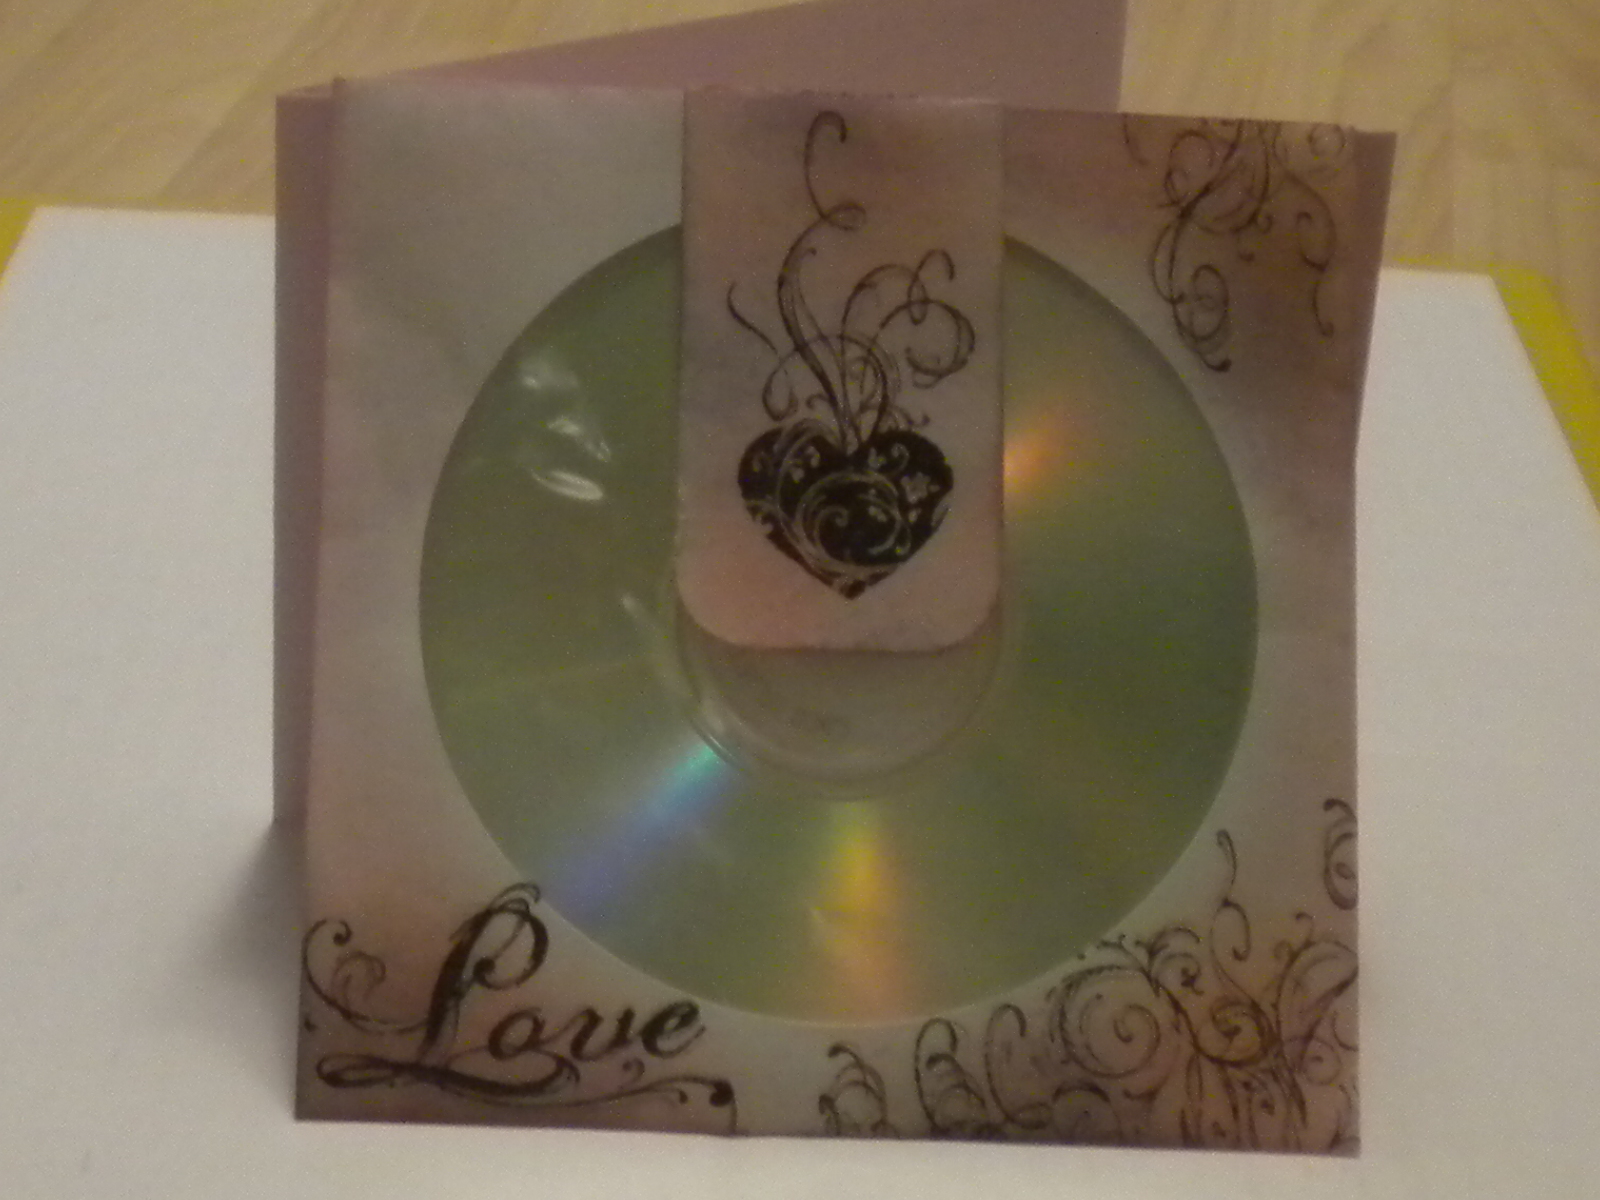
This was a make'n'take I taught at our store. Its made from a cd envelope. I got the idea off the Internet, and they had a cookie in the envelope. You could also put a mix cd in the envelope, maybe love songs for your Valentine. I decorated the envelope by stamping and sponging. I added a paper tab (the piece in the center with the heart). In the picture it is leaning against a card, just so I could take a better picture.


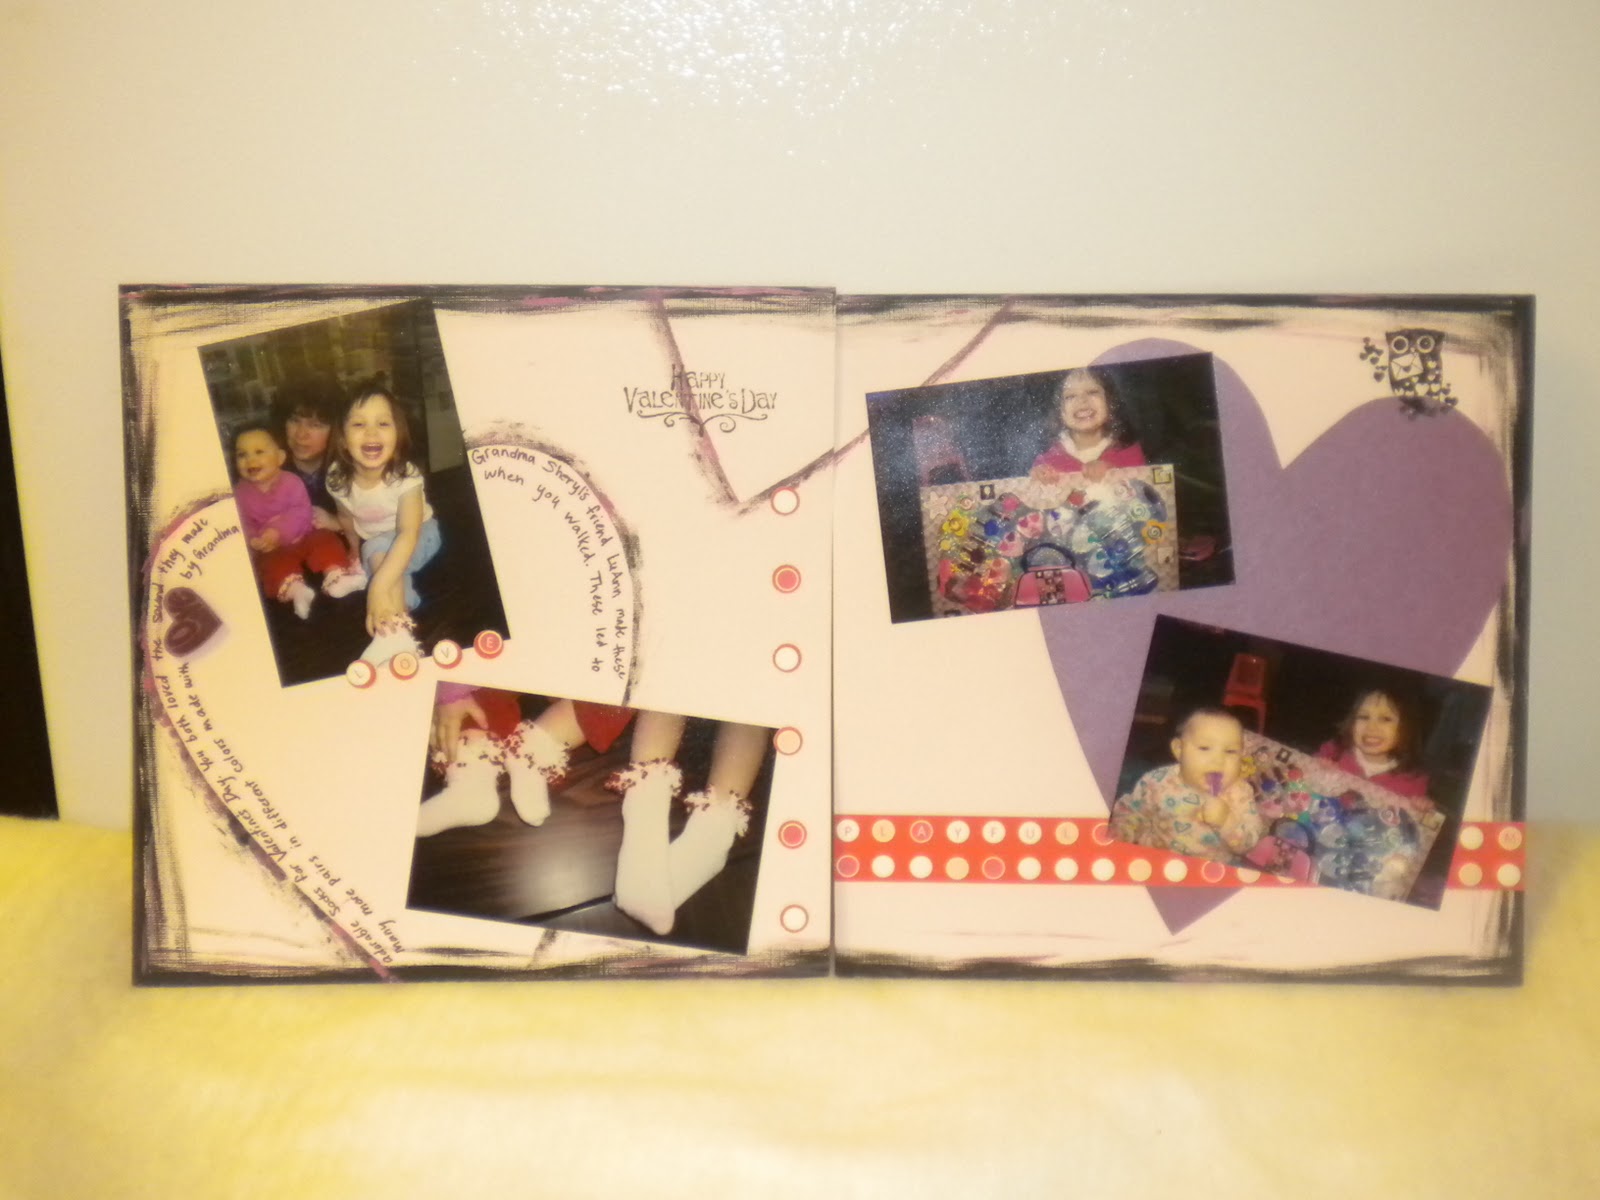
This scrapbook layout isn't my best work, nor did it take much time. But it was so fun to make, and I love it still. I already had the paint out, and the idea popped into my head. I cut out a large heart from printer paper. I traced it onto the purple shimmery paper. Then I used acrylic paint to go around the pattern a couple more times directly on the paper. I painted the edges of the paper, too. I glued down the pictures, and then journaled around the inside of the heart. Added a few stickers and stamps, and it was done. I usually spend such a long time on my layouts that there is no way I will EVER be able to scrap all the pictures I want to. Sometimes its fun to just go crazy and have fun, and not worry about perfection.